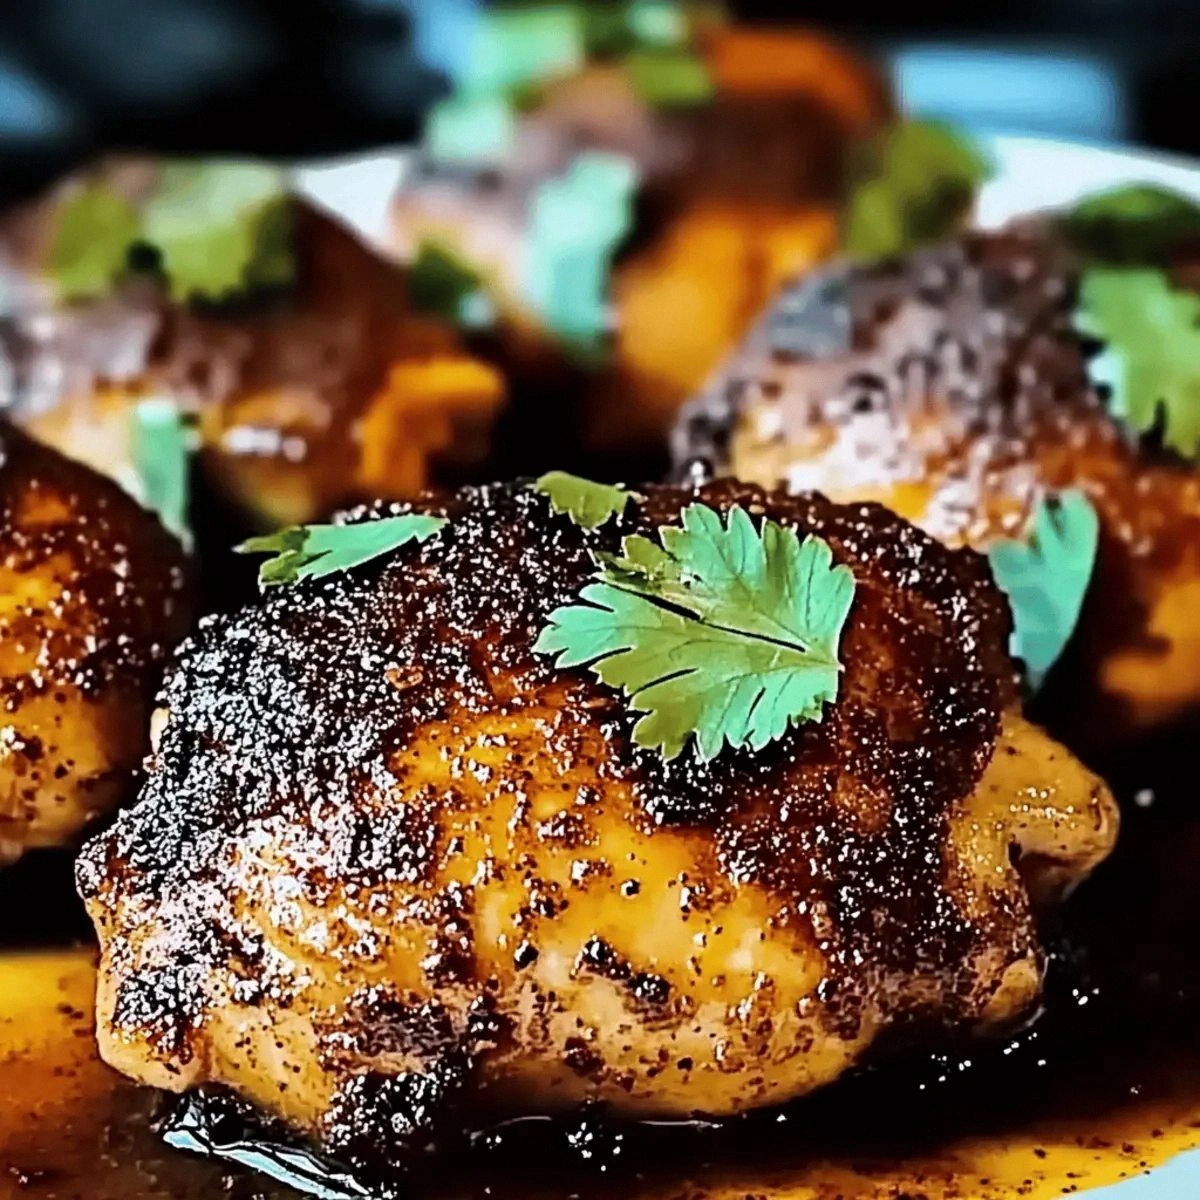
I was halfway through a midnight snack raid when the kitchen erupted into a chaotic symphony of sizzling tortillas and a runaway cream cheese tub. The smell of melted dairy mingled with the faint aroma of butter, and I realized I had stumbled upon something that could outshine any store‑bought snack. This isn’t just another tortilla bite; it’s a buttery, creamy, everything‑seasoned masterpiece that turns ordinary flour tortillas into pockets of pure indulgence. I dare you to taste this and not go back for seconds, because once you bite, the world of flavor will never feel the same. Let me walk you through every single step — by the end, you'll wonder how you ever made it any other way.
Picture yourself pulling this out of the oven, the whole kitchen smelling incredible, the golden edges crackling like applause. The first bite delivers that satisfying crunch that shatters like thin ice, followed by a velvety center that feels like a creamy cloud. I’ve been known to sneak a second bite, but I’ll be honest — I ate half the batch before anyone else got to try it. Most recipes get this completely wrong; they over‑cook the tortillas or under‑season the cheese. This version? It’s hands down the best version you'll ever make at home.
I love that the ingredients are so simple, yet they dance together in a way that feels like a gourmet secret. The everything seasoning is the secret handshake that brings a hint of onion, garlic, and pepper into the mix, giving each bite a depth that could have a conversation with your taste buds. The butter melts into a glossy glaze, creating a crisp exterior that’s almost cinematic. If you’re a fan of quick, crowd‑pleasing snacks, this recipe will become your go‑to. The technique I’ll reveal will elevate even the most basic tortilla to a showstopper.
And if you’re worried about the time, I’ve sliced the prep into bite‑size chunks that fit into your busy schedule. I’ll share a kitchen hack that saves you from the dreaded uneven melt, ensuring every bite is consistent. The result is a snack that’s not only delicious but also visually stunning, with golden edges that gleam like polished gold. I’m about to drop a little secret: a pinch of lemon zest can elevate the cream cheese’s richness into something almost celestial. Ready to roll up your sleeves? The adventure begins now.
What Makes This Version Stand Out
- Flavor: The creamy cheese base is infused with everything seasoning, turning a bland tortilla into a savory work of art. The butter adds a subtle caramelized note that lingers on the palate. Each bite starts with a crisp crackle and ends with a melt-in-your-mouth finish. The seasoning’s subtle heat balances the richness without overpowering it. This synergy creates a flavor profile that feels both indulgent and sophisticated.
- Texture: The tortillas achieve a perfect golden crisp that holds up under the cheese without becoming soggy. The cream cheese forms a silky pocket that coats the interior, creating a contrast that delights the mouth. The butter’s glossy finish adds a buttery sheen that enhances the visual appeal. The edges crackle just enough to give a satisfying audible cue. The result is a snack that satisfies both crunch lovers and cheese aficionados.
- Ease: With only four core ingredients, this recipe is a breeze to whip up, even for novice cooks. The process requires no fancy equipment—just a skillet and a trusty spoon. The entire dish can be assembled in under ten minutes, making it perfect for impromptu gatherings. The minimal prep time keeps the focus on flavor rather than technique. This simplicity does not sacrifice quality; it delivers a high‑end taste with low effort.
- Uniqueness: Most tortilla snacks rely on salsa or guac; I replace that with a creamy, seasoned cheese that sets this dish apart. The everything seasoning brings a multi‑layered flavor that feels like a party in your mouth. The buttery crust provides a textural contrast that’s rarely found in standard tortilla treats. The combination feels fresh, yet familiar enough to be instantly comforting. It’s a recipe that stands out in a sea of bland options.
- Appeal: Friends who’ve tried this say it’s “the best bite I’ve ever had” and it never fails to get the conversation flowing. The golden edges and creamy center create a visual cue that invites tasting. Even the most skeptical snack‑hungry can’t resist the first bite. It’s a crowd‑pleaser that works for parties, game nights, or a quick midnight craving. The reaction proves that great flavor can be simple.
- Convenience: You can assemble the bites ahead of time and store them in the fridge for up to two days. The cheese will keep its creamy texture, and the tortillas retain their crispness when reheated. The recipe also scales up effortlessly, making it ideal for larger gatherings. You can prep the filling in advance and just pop them in the skillet when ready. This makes it a versatile option for both spontaneous and planned events.
Inside the Ingredient List
The Flavor Base
The cream cheese is the heart of this dish, providing a rich, tangy foundation that carries the seasoning. It should be softened to room temperature so it blends smoothly with the butter and seasoning. If you use a full‑fat version, the result will be creamier and richer; a low‑fat alternative will still work but may be a touch less indulgent. Skipping this step will leave you with a bland, buttery bite that lacks depth. For an extra punch, a splash of lemon juice brightens the cheese’s natural tang.
The Texture Crew
The flour tortillas bring structure and a neutral canvas that lets the cheese shine. Look for medium‑sized tortillas that are pliable yet sturdy; they’ll hold the filling without tearing. If you prefer a more robust bite, use whole wheat tortillas for added fiber and nutty undertones. Avoid ultra‑thin tortillas, as they can become soggy when melted. The tortillas also provide the crisp outer shell that crisps up beautifully when cooked.
The Unexpected Star
Everything seasoning is the secret weapon that adds depth and a hint of umami. It’s a blend of onion powder, garlic powder, dried herbs, and peppercorns, giving the dish a balanced flavor profile. If you’re allergic to any component, you can replace it with a custom seasoning mix, but be sure to keep the balance of savory and sweet. Using a fresh blend can elevate the flavor, but pre‑made packs are perfectly fine. This seasoning is what turns a simple tortilla into a gourmet bite.
The Final Flourish
Unsalted butter is the finishing touch that creates a glossy, golden crust and adds a subtle caramelized note. Melt the butter in a skillet over medium heat until it turns a light golden brown; this signals that it’s ready to coat the tortillas. If you prefer a lighter version, use half the amount of butter and add a splash of olive oil for sheen. The butter also helps the cheese melt evenly, preventing any uneven hot spots. Skipping the butter will leave the tortillas dry and less flavorful.

The Method — Step by Step
- Heat a large non‑stick skillet over medium heat until it’s hot enough that a single drop of water sizzles on contact. The skillet’s surface should be evenly heated to avoid hot spots that could burn the tortillas. While the pan warms, slice the tortillas into bite‑sized squares or triangles for uniform cooking. This prep step ensures each bite will cook evenly and have a consistent size. A properly heated pan is the foundation for a crispy, golden finish.
- In a small saucepan, melt the butter over low heat until it turns a light amber color, signaling that the milk solids have browned slightly. Once the butter is ready, pour it into the skillet and let it spread evenly. The golden butter will coat the tortillas and create a glossy crust. Adding the seasoning at this stage allows the spices to bloom in the butter. This step is where the flavor base begins to build.
- Spread a generous layer of softened cream cheese onto each tortilla square. The cheese should be spread in a thin, even layer that covers the tortilla but still allows the butter to seep through. As you spread, you’ll see the butter seeping into the cheese, creating a subtle, caramelized flavor. If you prefer a thicker bite, add a second layer of cheese, but be careful not to overload. This step ensures every bite has a creamy center.
- Fold each tortilla over to form a half‑moon shape, sealing the edges with a light press. The folding technique creates a pocket that holds the cheese and allows the edges to crisp. Ensure the edges are tightly sealed to avoid cheese leakage during cooking. A tight seal also creates a neat, bite‑size shape that’s easy to handle. The fold also adds a fun, handheld element to the snack.
- Cook the folded tortillas for about 3–4 minutes on the first side, until the edges turn golden brown and the cheese begins to melt. Watch for the first hint of a crackle; this signals that the butter is doing its job. Flip carefully with a spatula, ensuring the edges stay sealed. The second side should also reach a golden hue within 3–4 minutes. The final product should feel firm yet give a gentle give when pressed.
- Once golden on both sides, remove the tortillas from the skillet and place them on a paper towel to drain any excess butter. The paper towel will absorb the residual oil without affecting the crispness. Let them rest for a minute; the cheese will set slightly, making them easier to handle. This brief rest also allows the flavors to meld together. Keep them warm while you finish cooking the remaining batches.
- Serve immediately while the crusts are still crisp and the cheese is molten. Pair them with a simple side dip like a tangy salsa or a creamy ranch for an extra flavor dimension. If you’re hosting, arrange them on a platter for a visual feast. The aroma alone will draw guests in. A quick bite that feels like a celebration.
- For an extra touch, sprinkle a light dusting of chopped chives or a drizzle of honey over the finished bites. The chives add a fresh herbal note that cuts through the richness, while honey provides a subtle sweetness. Both options elevate the snack from simple to sophisticated. Experiment with different garnishes to keep the dish fresh. The final flourish is all about personal preference.
Insider Tricks for Flawless Results
The Temperature Rule Nobody Follows
Many cooks assume that a low heat is always best, but a medium‑high setting actually produces a superior crust. The higher temperature allows the butter to brown faster, creating a caramelized layer that locks in moisture. If you’re cooking in a cast‑iron pan, preheat it for at least five minutes before adding the butter. This ensures an even sear across each tortilla. The result is a crisp exterior that doesn’t compromise the creamy interior.
Why Your Nose Knows Best
As soon as the butter starts to brown, your nose will detect a nutty aroma that signals the moment to add the seasoning. The scent is a cue that the flavor profile is building. If you wait too long, the butter can burn, ruining the delicate balance. Trust the aroma, not the timer, for the best results. A well‑seasoned bite begins with a fragrant start.
The 5-Minute Rest That Changes Everything
After removing the tortillas from the skillet, let them rest for exactly five minutes before serving. This short pause allows the cheese to set slightly, preventing it from oozing out when you bite. The resting time also lets the heat distribute evenly, giving the exterior a firm finish. A friend once skipped this step and the cheese burst out like a geyser; it was a disaster. I’ve learned that patience pays off in texture.
The Right Pan Makes All the Difference
A non‑stick skillet is ideal for this recipe, but a heavy‑bottomed stainless steel pan can also work if you’re careful. The key is to avoid a pan that’s too thin, which can cause uneven cooking. A cast‑iron skillet, preheated properly, yields a beautiful sear and a deeper flavor. If you’re using a pan that isn’t non‑stick, lightly oil the surface before adding the butter. The right pan ensures consistent results every time.
How to Keep Them From Sticking
If the tortillas start to stick, reduce the heat immediately and give them a few extra seconds to loosen. A gentle press with a spatula can help lift them without tearing. If you’re cooking in batches, let each batch rest on a wire rack to keep the bottom from getting soggy. Some cooks use parchment paper between batches for extra protection. Keeping them from sticking preserves the crisp edges and overall presentation.
Creative Twists and Variations
Spicy Jalapeño Crunch
Add finely diced jalapeños to the cream cheese mixture for a fiery kick that pairs well with the buttery crust. The heat will contrast the creamy center, creating a dynamic flavor profile. Serve with a cool yogurt dip to balance the spice. This version is perfect for those who love a little heat in their snack. The jalapeños also add a pop of color that’s visually appealing.
Smoky Chipotle Flavor
Replace the everything seasoning with a chipotle‑in‑adobo blend for a smoky depth that lingers on the tongue. The chipotle’s earthy undertones complement the richness of the cheese. A drizzle of lime juice after cooking adds a bright finish. This variation works well as a party snack, offering a bold, smoky punch. The smoky aroma will entice even the most skeptical snackers.
Herb‑Infused Mediterranean
Stir in chopped fresh rosemary, thyme, and oregano into the cheese mixture for a Mediterranean twist. The herbs add a fragrant, earthy flavor that elevates the dish. Finish with a sprinkle of grated parmesan for an extra layer of umami. This version pairs beautifully with a side of hummus or a light salad. The herbaceous notes make it a sophisticated appetizer.
Sweet Cinnamon Sugar Twist
For a dessert‑style bite, replace the everything seasoning with a blend of cinnamon and sugar. The sweet coating pairs unexpectedly well with the creamy cheese, creating a caramelized crust. Dust the finished bites with powdered sugar for an elegant finish. This version is a crowd‑pleaser at birthday parties or holiday gatherings. The sweet aroma alone will draw people in.
Vegan Delight
Swap the dairy cream cheese for a plant‑based alternative and use vegan butter or olive oil. The texture remains creamy, though the flavor profile shifts slightly. Add nutritional yeast for a cheesy note that’s entirely plant‑based. This variation keeps the dish cruelty‑free without sacrificing taste. Vegan guests will appreciate the thoughtful substitution.
Breakfast Breakfast
Add a scrambled egg to the cheese mixture for a protein‑packed breakfast bite. The egg adds a savory depth that pairs well with the buttery crust. Serve with a side of fresh fruit or a drizzle of maple syrup for a sweet contrast. This variation turns the snack into a hearty, on‑the‑go breakfast option. The combination of flavors keeps breakfast exciting.
Storing and Bringing It Back to Life
Fridge Storage
Store the cooked bites in an airtight container in the refrigerator for up to two days. The airtight seal prevents moisture from making the tortillas soggy. When you’re ready to serve, let them sit at room temperature for 10 minutes to soften slightly. The cheese will remain creamy, and the crust will retain its crispness. This method is ideal for meal prep or a quick snack later in the day.
Freezer Friendly
For longer storage, freeze the cooked bites in a single layer on a parchment‑lined tray before transferring to a freezer bag. This prevents them from sticking together. Freeze for up to one month for best quality. When ready to eat, thaw in the refrigerator overnight and reheat in a skillet or oven. The freezable nature of this dish makes it perfect for busy schedules.
Best Reheating Method
Reheat the bites in a skillet over medium heat until the butter melts and the edges crisp again. A splash of water before reheating will steam the cheese, keeping it moist and preventing it from drying out. Alternatively, use a 350°F oven for about 10 minutes to restore the original texture. Avoid microwaving, as it can make the tortillas chewy. Reheated bites taste almost as fresh as when they were first cooked.