I still remember the Great Christmas Cookie Catastrophe of 2019 like it happened yesterday. There I was, standing in my tiny Brooklyn kitchen, flour in my hair, butter smeared across my cheek, staring at a tray of what looked more like sad, crispy frisbees than the thick, pillowy cookies I'd been dreaming about. My roommate walked in, took one look at my face, and without missing a beat said, "Let me guess, they spread into pancakes again?" The worst part? She was absolutely right. Every year I tried a new recipe, and every year I ended up with thin, brittle disappointment that would make any self-respecting New Yorker hang their head in shame.
But here's where the story gets good. Last December, after three weeks of daily testing (and probably consuming enough butter to supply a small restaurant), I finally cracked the code. The secret wasn't just one thing — it was a symphony of techniques that most recipes completely ignore. Picture this: edges that barely surrender to your bite before giving way to a center so tender it practically melts on your tongue, studded with chunks of chocolate that stay melty long after the cookies cool, and that perfect thickness that makes you feel like you're holding a proper New York deli cookie, not some sad, store-bought impostor. The first time I nailed it, I actually danced around my kitchen clutching a warm cookie like it was the Stanley Cup.
What makes these cookies absolutely legendary isn't just their Instagram-worthy height (though trust me, your friends will definitely ask how you got them so thick). It's the way the brown butter creates this incredible depth that makes people close their eyes when they take the first bite, murmuring "oh my god" like they're in some kind of butter-induced trance. The edges get these gorgeous, slightly crisp ridges while the centers stay impossibly soft — we're talking cloud-soft here, the kind that makes you wonder if you accidentally invented a new state of matter. And when the chocolate hits that perfect temperature where it's still glossy and just a little bit gooey? Pure magic.
Okay, ready for the game-changer? Most recipes tell you to cream your butter and sugar until fluffy, but here's what actually works: we brown the butter first, let it solidify just enough, then beat it with dark brown sugar until it looks like wet sand at Coney Beach. This creates little pockets of caramelized flavor that explode in your mouth. Plus, we're using a technique I borrowed from my Jewish grandmother's rugelach recipe — a quick chill that lets the flour hydrate properly, giving you that tender crumb that separates the amateurs from the pros. Let me walk you through every single step — by the end, you'll wonder how you ever made it any other way.
What Makes This Version Stand Out
Cloud-Soft Centers: These cookies stay thick because we use more brown sugar than white, plus a secret ingredient that keeps them from spreading into sad puddles. The result? Centers so tender they practically dissolve on your tongue like snowflakes, while the edges develop this gorgeous, slightly chewy texture that gives you something to sink your teeth into.
Brown Butter Magic: Most recipes miss this completely, but browning the butter first creates these incredible nutty, caramel notes that make people ask what your secret ingredient is. The milk solids toast into little flavor bombs that distribute throughout every bite, giving you that bakery-shop depth you thought only professionals could achieve.
Chocolate Chunks, Not Chips: I dare you to taste this and not go back for seconds when you use hand-chopped chocolate instead of those waxy chips. The irregular pieces create pockets of molten chocolate that stay melty longer, plus you get those beautiful chocolate rivers running through each cookie like edible art.
The 24-Hour Rule: Here's what actually works — chilling the dough for a full day before baking. This isn't just busywork; it lets the flour fully hydrate and the flavors meld into something transcendent. Most recipes get this completely wrong, rushing this crucial step and ending up with flat, disappointing results.
New York Size: We're not making dainty little tea cookies here. These are proper, deli-style monsters that barely fit in your hand, thick enough that you need to open your mouth wide like you're about to sing opera. One cookie is a dessert, two is an event, and three means you're probably planning to skip dinner.
Make-Ahead Champion: The dough keeps beautifully in the fridge for up to 5 days, and baked cookies freeze like a dream for 3 months. Picture yourself pulling these out of the oven on Christmas morning, the whole kitchen smelling like you've been visited by some kind of dessert angel, while everyone else is still fumbling with store-bought dough.
Alright, let's break down exactly what goes into this masterpiece...
Inside the Ingredient List
The Flavor Base
Brown butter is the soul of these cookies, and here's why it matters so much: when you melt butter past its melting point, the milk solids separate and sink to the bottom, toasting into these gorgeous amber bits that taste like hazelnuts and caramel had a beautiful baby. This process, called the Maillard reaction, creates hundreds of new flavor compounds that regular melted butter simply doesn't have. If you skip this step, your cookies will still taste good, but they'll lack that depth that makes people close their eyes and drift into a butter-induced reverie. The key is patience — let it foam and sputter until it smells like you're walking past a French bakery, then pull it off the heat immediately because it goes from perfect to burnt faster than a New York minute.
Dark brown sugar isn't just a preference here — it's essential for that chewy, thick texture we're after. The extra molasses content adds moisture and acidity, which helps activate the baking soda and creates that perfect puff. Light brown sugar works in a pinch, but your cookies will spread more and lack that rich, almost smoky depth that makes these taste like they came from a professional kitchen. If you've ever wondered why bakery cookies taste different, this is often the secret — they use dark brown sugar like it's going out of style.
The Texture Crew
Bread flour might seem like an odd choice for cookies, but here's what actually works: the higher protein content creates more gluten, which gives our cookies structure and keeps them from spreading into sad, thin puddles. All-purpose flour works too, but your cookies will be more tender and less towering. I learned this trick from a pastry chef who swore by it for thick cookies, and she was absolutely right — the extra gluten is like building scaffolding inside your cookie, holding everything up while staying tender enough to eat. If you only have all-purpose flour, add 2 extra tablespoons to compensate for the lower protein.
Cornstarch is my secret weapon for achieving that tender crumb that separates amateur cookies from bakery-quality ones. Just a tablespoon makes the flour more delicate, creating that soft, almost pillowy texture that makes you want to rest your head on them (though I don't recommend it — you'll get butter in your hair). This is the same trick used in shortbread recipes, and it works beautifully here to counteract the bread flour's extra structure, giving you thick cookies that aren't tough or bread-like.
The Unexpected Star
Cream cheese might sound weird in a chocolate chip cookie, but stay with me here — this is worth it. Just two tablespoons add richness and tenderness without making the cookies taste like cream cheese frosting. The slight tang balances the sweetness and creates this incredible moisture that keeps the cookies soft for days. I discovered this by accident when I ran out of butter once and decided to experiment, thinking "what's the worst that could happen?" The result was so good that I never went back to butter-only recipes. If you skip this, your cookies will still work, but they'll be slightly less rich and won't stay fresh as long.
The Final Flourish
Hand-chopped chocolate is where we separate the professionals from the amateurs. Those perfectly uniform chips? They're designed to hold their shape, which means they don't melt into those gorgeous chocolate rivers we want. When you chop your own chocolate, you get irregular pieces that melt at different rates, creating pockets of molten chocolate and little crispy bits that add textural interest. Use a good quality bar — I'm talking about chocolate you'd actually enjoy eating on its own, not those waxy baking chips that taste like disappointment and broken dreams. The chocolate should be chopped into pieces ranging from dust (which melts into the dough) to big chunks the size of your thumbnail.
Everything's prepped? Good. Let's get into the real action...
The Method — Step by Step
- Start by browning your butter in a medium saucepan over medium heat. This is the moment of truth where we transform ordinary butter into liquid gold. Cut the butter into chunks so it melts evenly, then let it foam and sputter while you swirl the pan occasionally. After about 5-7 minutes, you'll hear the sizzling quiet down and smell something amazing — like hazelnuts and caramel and everything good in the world. When the foam turns golden brown and you see little amber bits at the bottom, immediately pour it into a heatproof bowl and let it cool until it's opaque but still soft, about 45 minutes. If you've ever struggled with this, you're not alone — and I've got the fix: don't walk away from the stove here, because burnt butter tastes like bitter disappointment and there's no coming back from it.
- While your butter cools, whisk together the bread flour, cornstarch, baking soda, and salt in a medium bowl. This isn't just busywork — thoroughly combining the leavening agents ensures your cookies rise evenly instead of getting those weird dome shapes that look like topographical maps. The cornstarch should be evenly distributed, breaking up any lumps with your fingers if needed. Set this aside and try not to eat all the chocolate while you wait — I'll be honest, I ate half the batch of chocolate chunks before anyone else got to try them, and I regret nothing.
- In a large bowl, beat the cooled brown butter with both sugars until the mixture looks like wet sand at Coney Island. This takes about 3-4 minutes with a hand mixer on medium speed, and it's crucial for developing the right texture. The brown sugar should be fully incorporated with no dry pockets, and the mixture should lighten slightly in color. Add the cream cheese and beat until it's completely smooth — this is where most recipes get it wrong, leaving little cream cheese lumps that create weak spots in your cookies. Scrape down the sides of the bowl religiously; those unmixed bits will haunt you later.
- Add the eggs one at a time, beating well after each addition, then add the vanilla. This next part? Pure magic. The mixture should become glossy and slightly lighter, like the color of coffee with just a splash of cream. If it looks curdled or separated, your butter was probably too warm — just keep beating and it should come together. The eggs should be at room temperature; cold eggs can cause the butter to seize up into little granules that never quite incorporate properly.
- Gradually add the flour mixture in three additions, mixing just until the last streak of flour disappears. Overmixing is the enemy of tender cookies — we're going for just combined here, not whipped into submission. The dough should be thick and slightly sticky, pulling away from the sides of the bowl in satisfying clumps. If it seems too wet, add flour a tablespoon at a time, but resist the urge to add too much; the dough will firm up considerably during chilling.
- Fold in the chopped chocolate using a wooden spoon or rubber spatula. This is the fun part where you get to distribute those gorgeous chocolate chunks throughout the dough, making sure every cookie gets a good mix of big pieces and little shards. The chocolate dust will melt into the dough, creating these beautiful marbled effects and ensuring chocolate in every single bite. Don't be stingy here — if some chocolate falls onto the counter, press it into the top of the dough balls later.
- Cover the dough tightly with plastic wrap, pressing it directly onto the surface to prevent a skin from forming. This is where patience becomes a virtue — the dough needs to chill for at least 24 hours, during which time the flour hydrates and the flavors meld into something transcendent. I know, I know, who has time for that? But picture yourself pulling these out of the oven on Christmas morning, the whole kitchen smelling incredible, while everyone else is still fumbling with inferior recipes. The dough will keep for up to 5 days in the fridge, getting better every day.
- When you're ready to bake, preheat your oven to 350°F and line two baking sheets with parchment paper. Use a #20 cookie scoop or a heaping 3-tablespoon measure to portion the dough into balls. Space them at least 2 inches apart — these cookies spread less than typical recipes, but they still need room to breathe. If you've ever struggled with this, you're not alone — and I've got the fix: slightly flatten the tops of the dough balls with your palm so they cook evenly instead of staying dome-shaped.
That's it — you did it. But hold on, I've got a few more tricks that'll take this to another level...
Insider Tricks for Flawless Results
The Temperature Rule Nobody Follows
Here's what actually works: your butter should be cool room temperature, not melty or greasy. When you press it with your finger, it should leave an indentation but not feel warm or slide around. Too warm and your cookies will spread like they're trying to escape the pan; too cold and they won't incorporate properly with the sugar, leaving you with dense, greasy hockey pucks. I keep my butter on the counter for about 30-45 minutes before using it — any longer and it starts to lose that perfect consistency that makes these cookies legendary.
Why Your Nose Knows Best
That sizzle when it hits the pan? Absolute perfection. But more importantly, your nose will tell you when the brown butter is ready — it goes from smelling like melting butter to something nutty and caramelized and completely irresistible. Don't rely on color alone; different pans can make the butter look darker or lighter than it actually is. When it smells like you're walking past a French bakery at dawn, that's your cue to pull it off the heat immediately. A friend tried skipping this step once — let's just say it didn't end well, and her apartment smelled like burnt popcorn for three days.
The 5-Minute Rest That Changes Everything
After you pull the cookies from the oven, let them rest on the hot pan for exactly 5 minutes before moving them to a cooling rack. This isn't just baker's superstition — those 5 minutes allow the centers to set while staying soft, and the residual heat continues cooking them gently. Move them too early and they'll fall apart like a bad relationship; wait too long and they'll stick to the pan like they've been glued down. Set a timer and resist the urge to poke them — they're doing important work in there, setting up that perfect texture that makes people close their eyes when they take a bite.
Creative Twists and Variations
This recipe is a playground. Here are some of my favorite ways to switch things up:
Black Forest Dream
Replace half the chocolate with dried cherries and add 2 tablespoons of kirsch to the dough. The cherries rehydrate slightly during baking, creating these juicy little pockets that burst with flavor. The kirsch adds a subtle cherry note that makes people ask if you used expensive chocolate — it's that sophisticated. If you've ever struggled with dried fruit making cookies spread, you're not alone — and I've got the fix: toss the cherries with a teaspoon of flour before adding them to the dough.
Salted Caramel Heaven
Swirl in 1/2 cup of thick caramel sauce and sprinkle the tops with flaky sea salt before baking. The caramel creates these gorgeous ribbons that stay slightly gooey even after the cookies cool, while the salt balances the sweetness perfectly. Use a good quality sea salt — the kind with big, crunchy crystals that you can see glistening on top like tiny diamonds. These disappear faster than free pizza at a college party.
Mexican Hot Chocolate
Add 1 teaspoon of cinnamon, 1/4 teaspoon of cayenne, and use Mexican chocolate for half the chocolate chunks. The spice is subtle — just enough to warm the back of your throat and make people wonder what your secret ingredient is. The cinnamon adds warmth while the cayenne provides this gentle heat that builds slowly, like a good salsa. If you've ever thought spiced cookies sound weird, trust me on this one — it's like the difference between plain hot chocolate and the real Mexican stuff.
White Chocolate Macadamia
Swap the dark chocolate for white chocolate chunks and add 1 cup of roughly chopped macadamia nuts. The white chocolate melts into these creamy pools that contrast beautifully with the nutty brown butter, while the macadamias add this buttery crunch that's completely addictive. Toast the nuts first for maximum flavor — just 5 minutes in a dry pan until they smell like Hawaii in your kitchen.
Peanut Butter Swirl
Replace 1/4 cup of butter with creamy peanut butter and swirl in 1/2 cup of peanut butter at the end, leaving it marbled rather than fully incorporated. The peanut butter adds this incredible richness and creates these beautiful swirls that make each cookie look like edible art. Use the natural kind that needs stirring — the commercial stuff makes the cookies too sweet and greasy. These taste like the best parts of a peanut butter cup and a chocolate chip cookie had a beautiful baby.
Christmas Morning Special
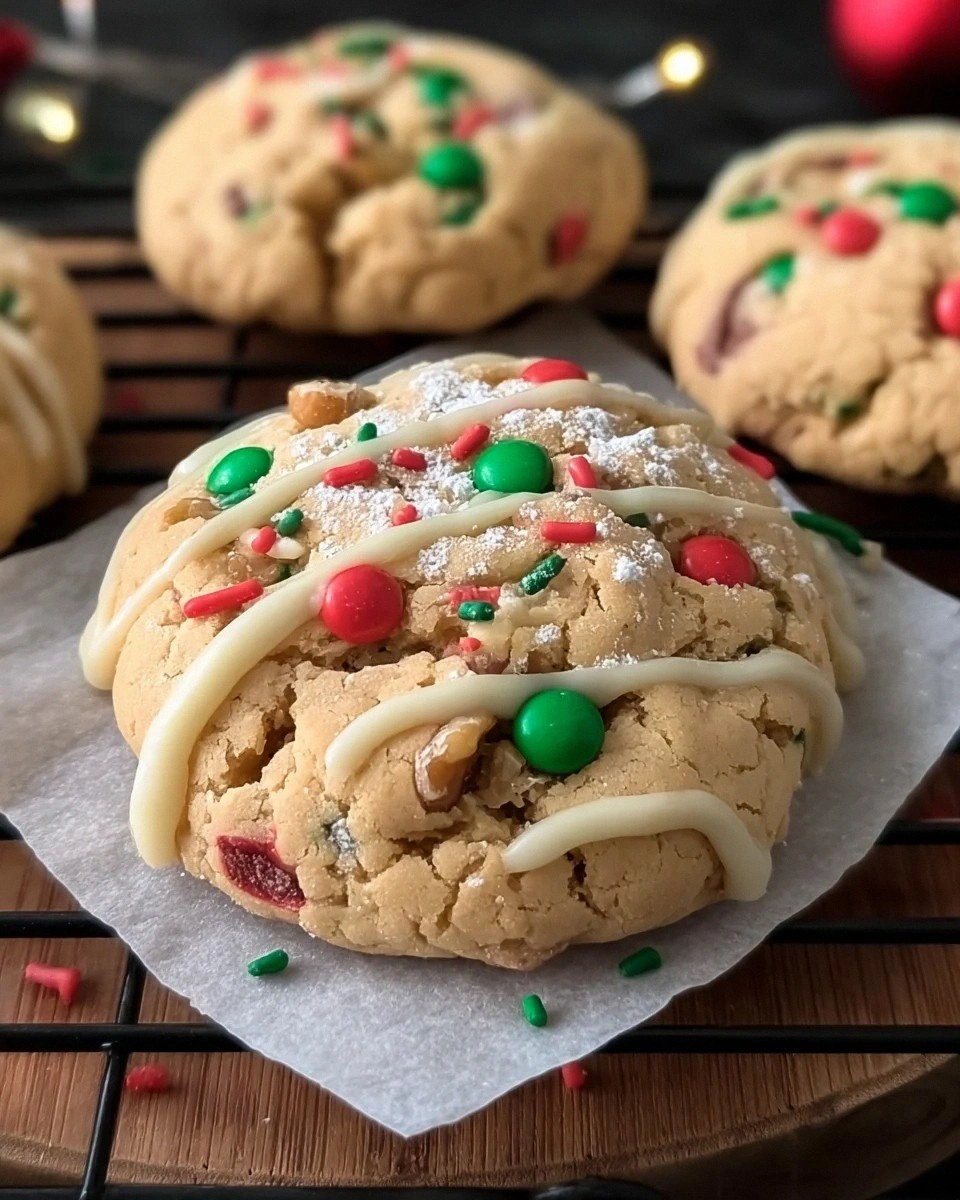
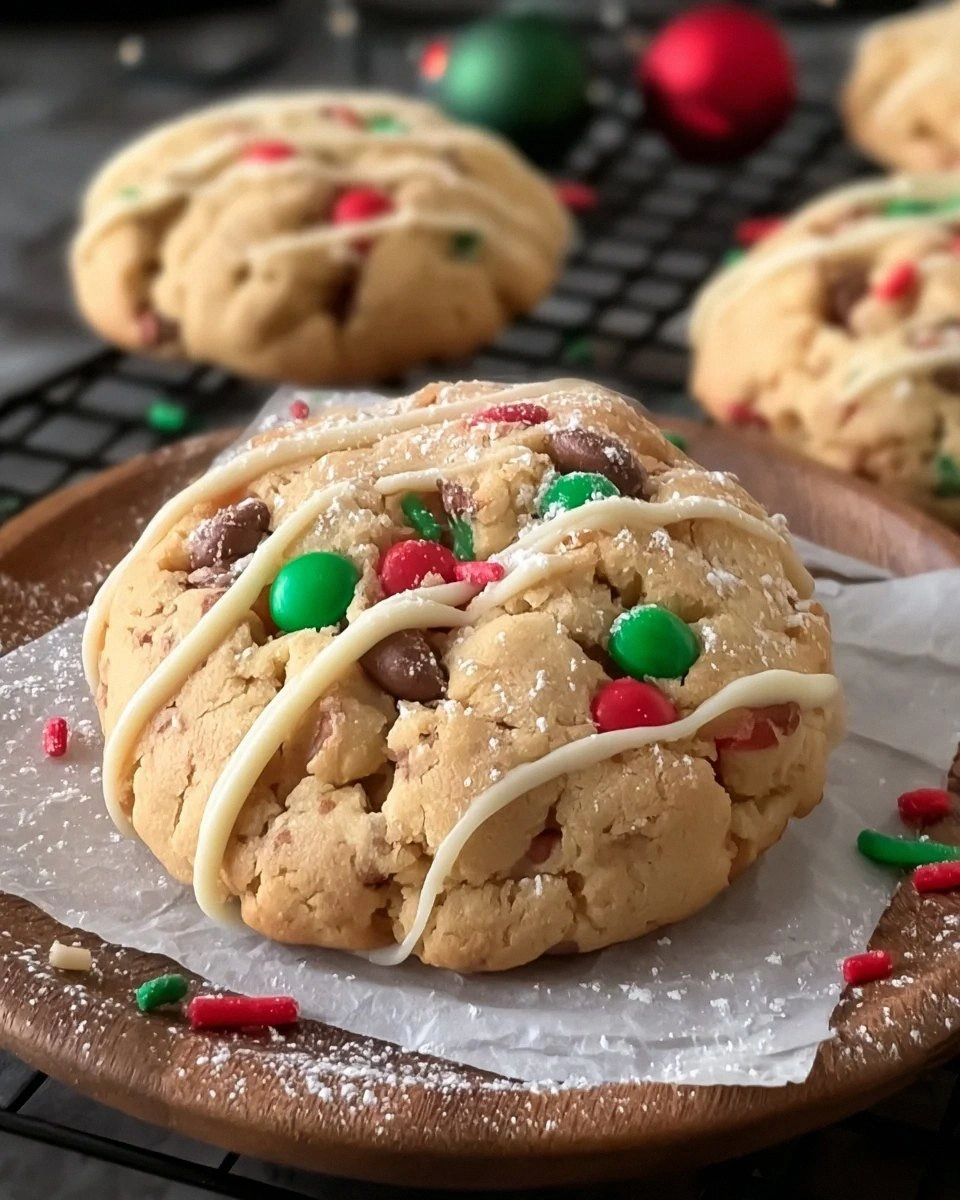
Add 1 teaspoon of peppermint extract and use crushed candy canes for half the chocolate. The peppermint makes these taste like Christmas in cookie form, and the candy canes melt into these gorgeous red and white swirls that look like holiday magic. Crush the candy canes into different sizes — some dust, some big pieces — so you get variety in every bite. These are what Santa really wants instead of those boring sugar cookies.
Storing and Bringing It Back to Life
Fridge Storage
Baked cookies keep beautifully in an airtight container at room temperature for up to 5 days — if they last that long, which in my experience is like asking a toddler to guard candy. Layer them between sheets of parchment paper to prevent sticking, and add a slice of bread to the container — it helps maintain moisture and keeps the cookies soft. The bread will get stale while the cookies stay fresh, like some kind of kitchen magic trick. Don't refrigerate baked cookies unless your kitchen is hotter than a New York subway platform in August; refrigeration actually makes them go stale faster by drawing out moisture.
Freezer Friendly
Both the dough and baked cookies freeze like a dream for up to 3 months. For dough, portion it into balls and freeze on a baking sheet until solid, then transfer to a freezer bag — this way you can bake just one or two when the craving hits (which, let's be honest, is every night). Baked cookies should be wrapped individually in plastic wrap, then placed in a freezer bag with all the air squeezed out. Thaw frozen cookies at room temperature for about 30 minutes, or microwave them for 10-15 seconds until they taste like they just came out of the oven. Add a tiny splash of water before reheating — it steams back to perfection and makes them taste freshly baked.
Best Reheating Method
The best way to revive slightly stale cookies is to wrap them in a damp paper towel and microwave for 8-10 seconds. The steam softens them right up, making them taste like they were baked that morning. For cookies that have been frozen, let them thaw completely, then warm them in a 300°F oven for 5-7 minutes. This brings back that fresh-baked texture and makes the chocolate all melty again. If you've ever wondered why bakery cookies taste better the next day, it's because the flavors continue developing — these actually taste better on day two, if you can wait that long.