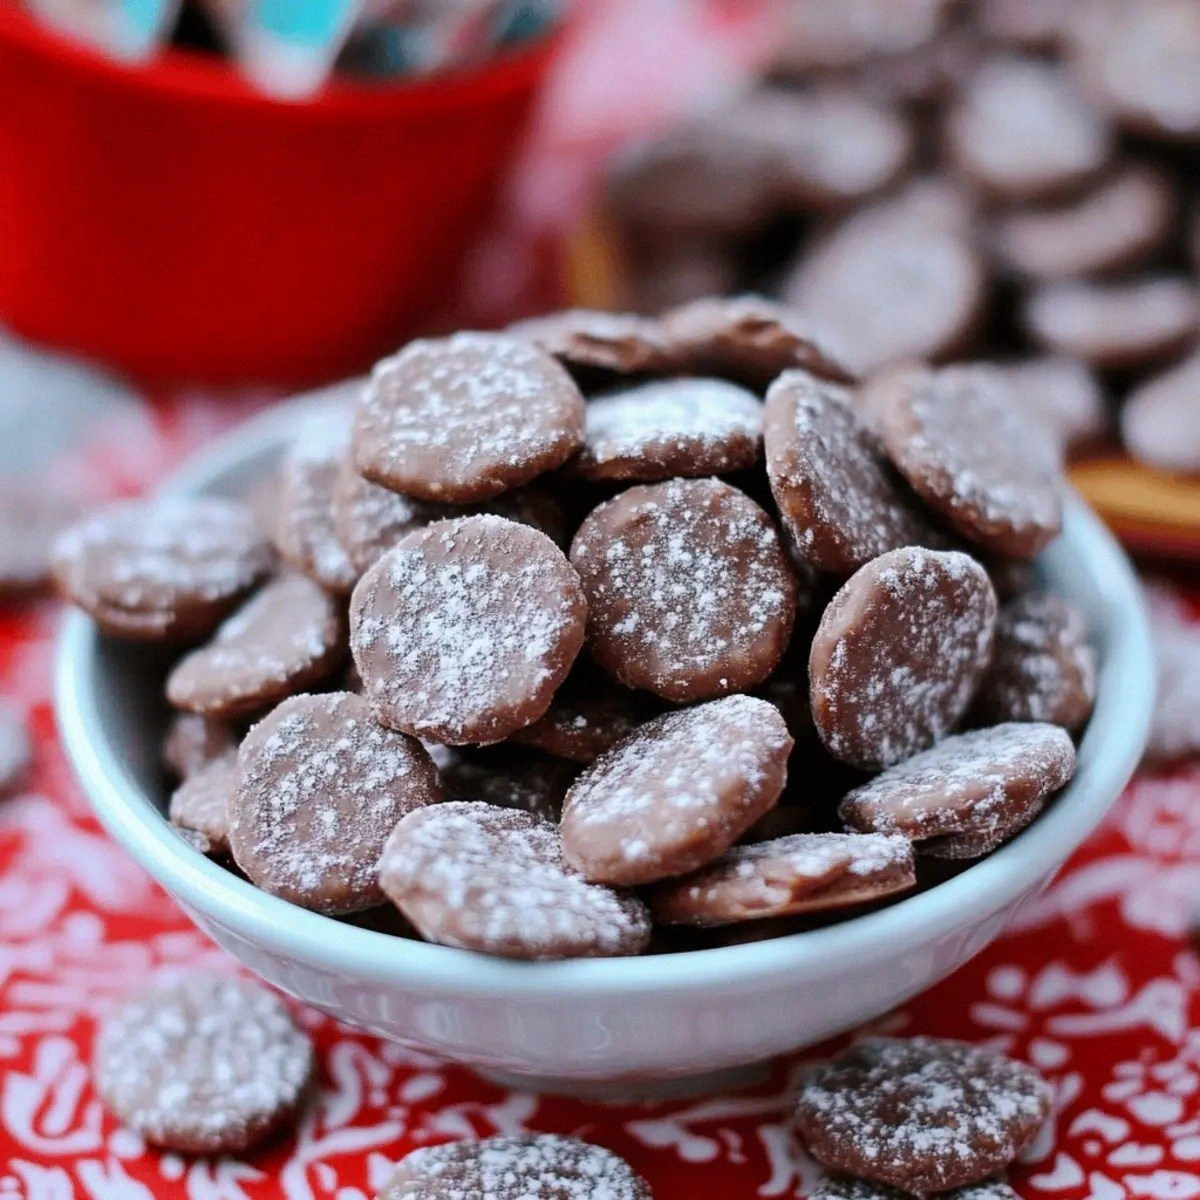
I was standing in my kitchen on a Tuesday night, staring at a half‑empty bag of Ritz Bits Peanut Butter Crackers, a tub of semi‑sweet chocolate chips that had been whisper‑quietly melting in the back of the fridge, and a sudden, unshakable craving for something that felt both nostalgic and totally new. I remember the exact moment a friend dared me, “Make something that’s crunchy, sweet, and ready before the next episode ends.” My brain went into overdrive, and the only thing that seemed to make sense was a riff on the classic “Muddy Buddies” – the kind of snack that usually takes a half‑hour of stirring, baking, and endless spoon‑fuls of powdered sugar. But I was determined to prove that you could get that addictive crunch in ten minutes flat, without compromising flavor or texture.
Picture this: the kitchen fills with the buttery aroma of melted chocolate mingling with the faint, comforting scent of hot cocoa, while the Ritz Bits crackle like tiny fireworks in a pan. You can hear the faint sizzle as the chocolate meets the oil, a sound that promises a glossy coating about to hug each cracker. Your fingertips feel the heat of the pan, the smooth glide of the spoon as it swirls the mixture, and the slight resistance of the crackers as they tumble, each one catching the glossy sheen. When you finally scoop a spoonful, the first bite delivers a melt‑in‑your‑mouth chocolate rush that instantly gives way to a salty‑sweet crunch that shatters like thin ice under your teeth. It’s a sensory overload that makes you forget the clock entirely.
What makes this version truly stand out is the secret weapon I threw into the mix: a dash of hot chocolate mix. Most “Muddy Buddies” recipes rely solely on powdered sugar for sweetness, which can leave the coating a little one‑dimensional. The hot chocolate mix adds a deep, cocoa‑rich undertone that turns the coating from “good” to “hands down the best version you’ll ever make at home.” It’s the culinary equivalent of adding a pinch of smoked paprika to a chocolate mousse – unexpected, but utterly transformative.
I’ll be honest — I ate half the batch before anyone else got a chance to try it, and that’s exactly the kind of confession that tells you how addictive this snack truly is. I dare you to taste this and not go back for seconds; the combination of salty crackers, silky chocolate, and that powdery sweet finish is a magnetic pull you’ll feel every time you hear the rustle of the bag. So, buckle up, because I’m about to walk you through every single step — by the end, you’ll wonder how you ever made this snack any other way.
What Makes This Version Stand Out
- Flavor Explosion: The hot chocolate mix adds a subtle bitterness that balances the sweetness, creating a depth you won’t find in ordinary Muddy Buddies.
- Texture Triumph: Ritz Bits stay crisp, thanks to the quick coat‑and‑cool method that prevents sogginess.
- Simplicity: Fewer than five ingredients and a single pan make this a no‑fuss, high‑impact snack.
- Unique Twist: Hot chocolate mix is the surprise element that turns a classic into a conversation starter.
- Crowd‑Pleaser: Even the pickiest snack‑eaters beg for more, and it’s perfect for parties, movie nights, or a quick office treat.
- Ingredient Quality: Using semi‑sweet chocolate chips ensures a perfect melt without becoming overly bitter.
- Speedy Method: From pan to plate in ten minutes, making it ideal for last‑minute cravings.
- Make‑Ahead Magic: Store it in an airtight container and it stays fresh for days, ready for a spontaneous snack attack.
Inside the Ingredient List
The Flavor Base
The semi‑sweet chocolate chips are the heart of this snack. They melt at a low temperature, creating a glossy, fluid coating that clings to each Ritz Bit. If you substitute dark chocolate, you’ll get a more bitter profile, while milk chocolate will make it overly sweet and possibly too runny. For the best results, choose a brand that lists cocoa butter as a primary ingredient – that ensures a smooth melt and a glossy finish that looks as good as it tastes.
The Texture Crew
Ritz Bits Peanut Butter Crackers bring the crunch factor. Their buttery, slightly salty flavor creates a perfect contrast to the sweet coating. If you skip them, you’ll lose that signature snap that makes each bite feel like a tiny celebration. As a swap, you can use pretzel sticks or even toasted rice cereal for a different kind of crunch, but nothing matches the buttery melt‑in‑your‑mouth feel of Ritz Bits.
The Unexpected Star
Hot chocolate mix is the secret weapon. It adds a deep cocoa flavor and a faint hint of cinnamon or vanilla, depending on the brand. This ingredient turns an ordinary sweet coating into something that feels almost dessert‑like. If you don’t have hot chocolate mix, a pinch of instant coffee or a dash of espresso powder can mimic the bitter undertone, but the original mix gives the most balanced result.
The Final Flourish
Powdered sugar provides the sweet, melt‑in‑your‑mouth finish that coats each piece like a snow‑kissed mountain. It also helps the coating set quickly once it cools. Be sure to sift the powdered sugar to avoid clumps; a clumpy coating will ruin the smooth texture. If you prefer a less sweet version, you can reduce the sugar by a quarter and add a splash of vanilla extract for flavor depth.
Everything's prepped? Good. Let's get into the real action…
The Method — Step by Step
Gather all your ingredients and set them within arm’s reach. This is the moment of truth: you’ll be moving quickly, so no rummaging through cabinets mid‑process. I always line a large baking sheet with parchment paper; it’s the silent hero that prevents sticking and makes cleanup a breeze. The pan you choose should be heavy‑bottomed to distribute heat evenly, preventing the chocolate from scorching.
Kitchen Hack: Pre‑measure the powdered sugar into a shallow bowl; this allows you to toss the coated crackers quickly without any lag.Place a large saucepan over medium‑low heat and add the 2 tablespoons of vegetable oil. Let it warm for about 30 seconds — you’ll hear a gentle whisper, not a roar. Then, add the 1 cup of semi‑sweet chocolate chips, stirring constantly with a silicone spatula. The chocolate should melt into a glossy river; if you see any lumps, lower the heat and keep stirring. That sizzle when it hits the pan? Absolute perfection.
Once the chocolate is fully melted, sprinkle in the 1/4 cup of hot chocolate mix. This is the game‑changer. The mix dissolves instantly, turning the chocolate a richer, deeper shade of brown. Keep stirring for another 20 seconds, allowing the flavors to meld. You’ll notice a faint aroma of cocoa and a whisper of spice — that’s the magic happening.
Add the entire box of Ritz Bits Peanut Butter Crackers to the saucepan. Toss them gently with the spatula so every piece gets a thin, even coat. You’ll see the chocolate cling like velvet, coating each cracker without drowning it. I dare you to taste this and not go back for seconds. Keep the heat low; you want the coating to set, not to fry.
Watch Out: If the pan gets too hot, the chocolate can seize, turning grainy. Immediately remove from heat and add a splash more oil to rescue the sauce.Transfer the coated crackers onto the prepared parchment sheet in a single layer. This is the moment where the coating begins to set. Let them sit for about 30 seconds, just enough for the chocolate to firm slightly but still stay tacky for the powdered sugar.
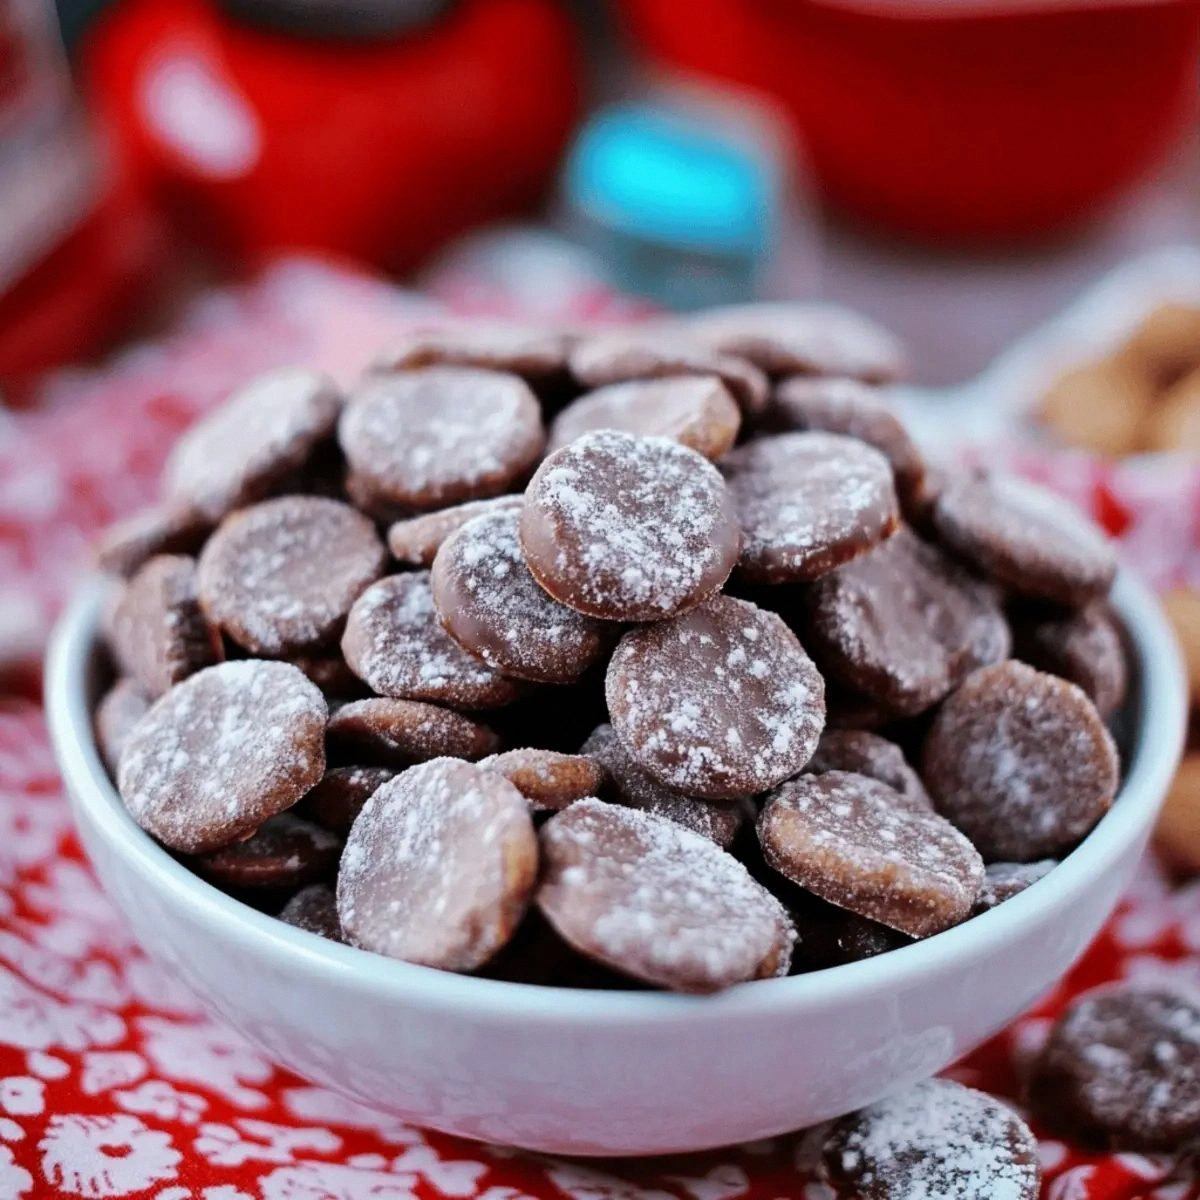
While the coating is still warm, sprinkle the 1 cup of powdered sugar over the crackers. Use a gentle shaking motion, allowing the sugar to cascade like fresh snow. Toss the crackers gently with the spatula, ensuring each piece gets an even dusting. The sugar will stick to the still‑warm chocolate, creating that signature “muddy” appearance.
Let the snack cool completely on the parchment sheet. This usually takes 2–3 minutes, during which the coating will harden into a crisp shell. Resist the urge to rush this step; the texture will suffer if the coating is still soft when you store it.
Once cooled, break any large clusters into bite‑size pieces. Transfer everything to an airtight container, and you’ve just created a snack that will stay crunchy for days. Picture yourself pulling this out of the container, the whole kitchen smelling incredible, and the first bite delivering a perfect balance of salty, sweet, and chocolatey bliss.
That's it — you did it. But hold on, I've got a few more tricks that'll take this to another level…
Insider Tricks for Flawless Results
The Temperature Rule Nobody Follows
Never, ever let the chocolate boil. Keep the heat low enough that you can feel a gentle warmth on the back of your hand when you hover the pan. If the chocolate reaches a rolling boil, the cocoa butter separates, leaving a gritty texture that ruins the coating. I once tried to speed things up by cranking the heat, and the result was a clumpy, oily mess that no amount of powdered sugar could fix.
Why Your Nose Knows Best
Your sense of smell is a reliable indicator of when the chocolate is ready. When the aroma shifts from raw cocoa to a deep, roasted scent, you’re at the perfect point to add the hot chocolate mix. Trust that nose signal more than a timer; it’s the secret that separates a good batch from a great one.
The 5‑Minute Rest That Changes Everything
After tossing the crackers with powdered sugar, let them rest for exactly five minutes before storing. This pause allows the sugar to fully adhere and the chocolate to set, preventing any soggy spots later. A friend tried skipping this rest once — the snack turned mushy after a few hours, and we all learned the hard way that patience pays off.
The One‑Spoon Oil Trick
If you notice the chocolate starting to thicken before the crackers are fully coated, drizzle a single teaspoon of extra vegetable oil into the pan and stir vigorously. This re‑emulsifies the sauce, giving it a silkier texture without making it greasy. It’s a tiny adjustment that saves the entire batch.
The Double‑Layer Dust
For an extra‑crunchy finish, dust the crackers with half the powdered sugar, let them set for a minute, then dust again. The second layer adheres to the first, creating a crisp shell that shatters like candy glass. This technique is perfect for impressing guests who think they’ve had “Muddy Buddies” before.
Creative Twists and Variations
This recipe is a playground. Here are some of my favorite ways to switch things up:
Nutty Crunch
Add ¼ cup of finely chopped toasted almonds to the crackers before coating. The nuts introduce a buttery depth that pairs beautifully with the chocolate, making it a hit for nut lovers.
Spicy Surprise
Stir in a pinch of cayenne pepper with the hot chocolate mix. The subtle heat creates a sweet‑heat balance that’s perfect for those who love a little kick in their snacks.
White Chocolate Wonder
Swap the semi‑sweet chocolate chips for white chocolate chips and add a splash of vanilla extract. The resulting coating is pale, creamy, and pairs nicely with a drizzle of raspberry jam for a gourmet twist.
Coconut Dream
Replace half of the powdered sugar with finely shredded coconut. The coconut adds a tropical aroma and a chewy texture that contrasts nicely with the crisp crackers.
Coffee Buzz
Add 1 teaspoon of instant espresso powder to the chocolate melt. The coffee notes deepen the chocolate flavor, turning the snack into a mini dessert that feels like an after‑dinner treat.
Storing and Bringing It Back to Life
Fridge Storage
Place the snack in an airtight glass jar or a zip‑top bag and store it in the refrigerator for up to a week. The cool environment keeps the chocolate from softening, preserving that coveted crunch. When you’re ready to serve, let the container sit at room temperature for 10 minutes to regain its full texture.
Freezer Friendly
If you’ve made a large batch, the snack freezes beautifully. Portion it into a freezer‑safe bag, squeeze out excess air, and freeze for up to three months. To revive, transfer a portion to the counter, then pop it in the microwave for 10 seconds with a tiny splash of water; the steam brings back that fresh‑out‑the‑oven feel.
Best Reheating Method
For a quick warm‑up, spread the snack on a baking sheet and heat in a preheated 300°F oven for 3–4 minutes. The heat revives the chocolate’s sheen and makes the coating snap even louder when you bite. Adding a teaspoon of water to the pan before reheating creates a gentle steam that prevents the crackers from drying out.