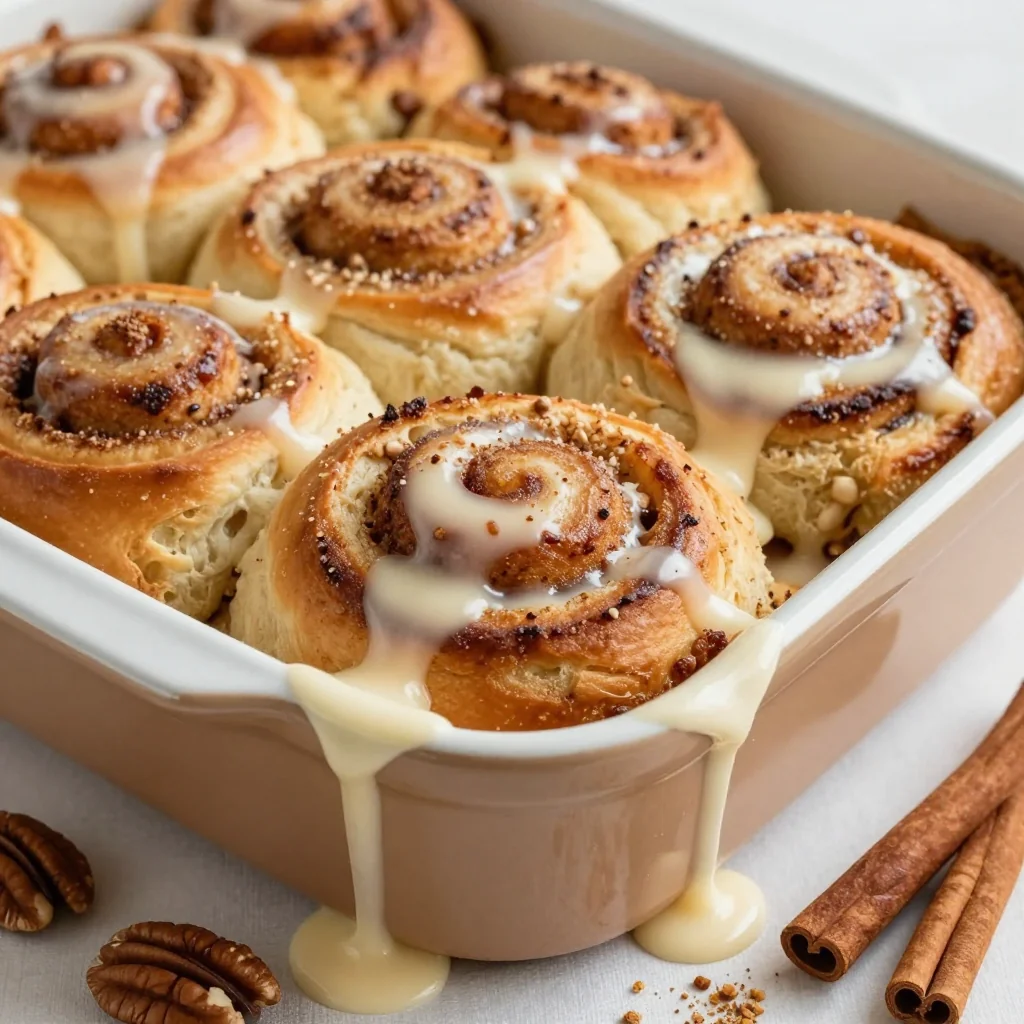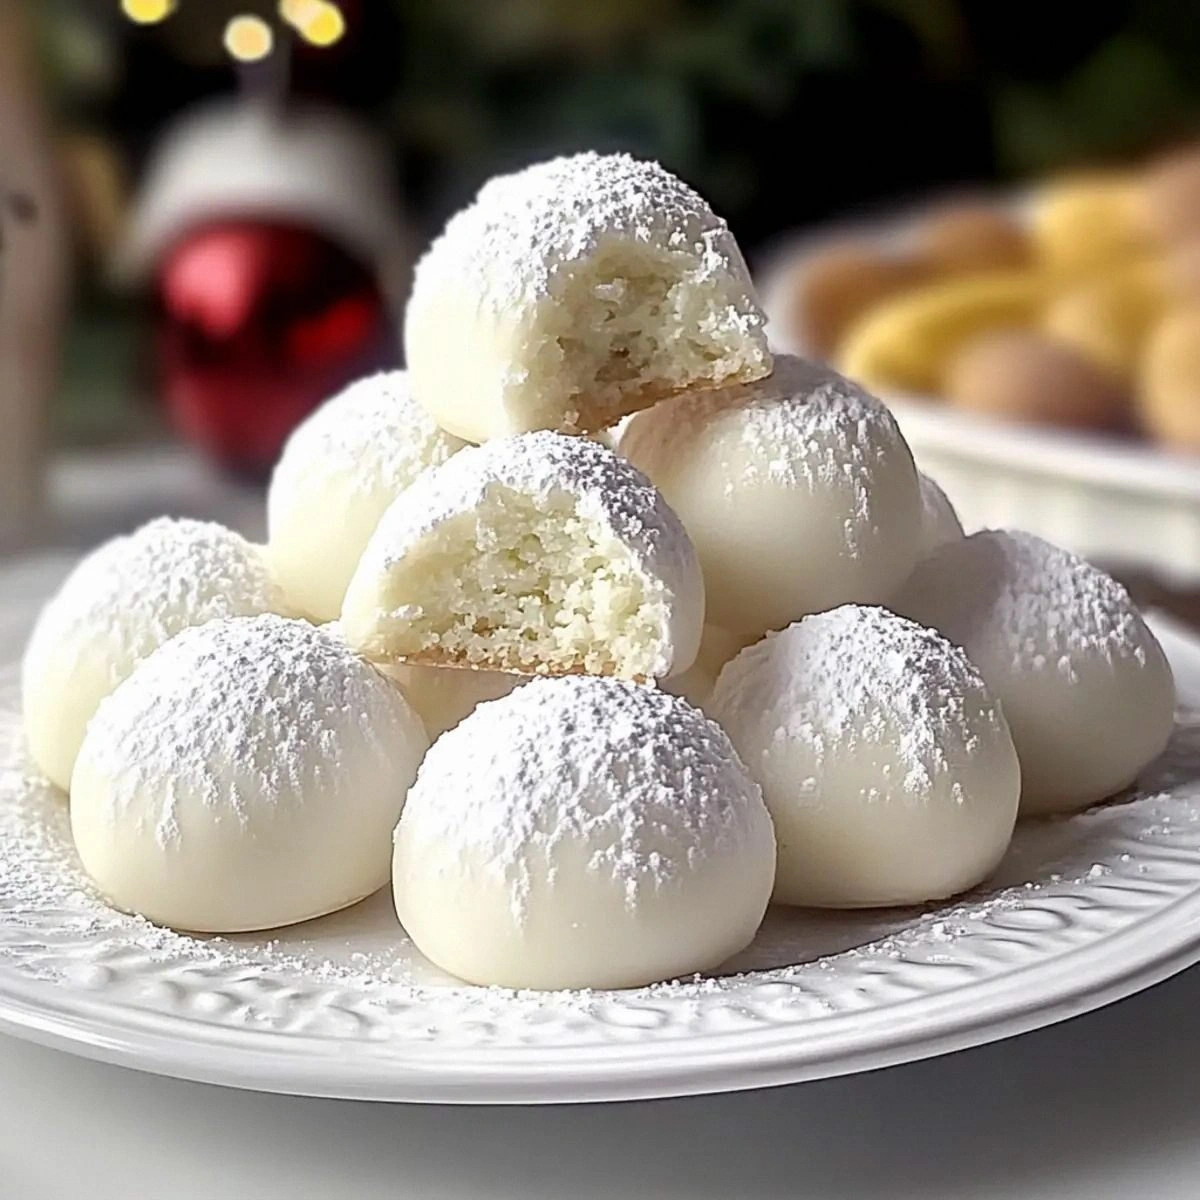
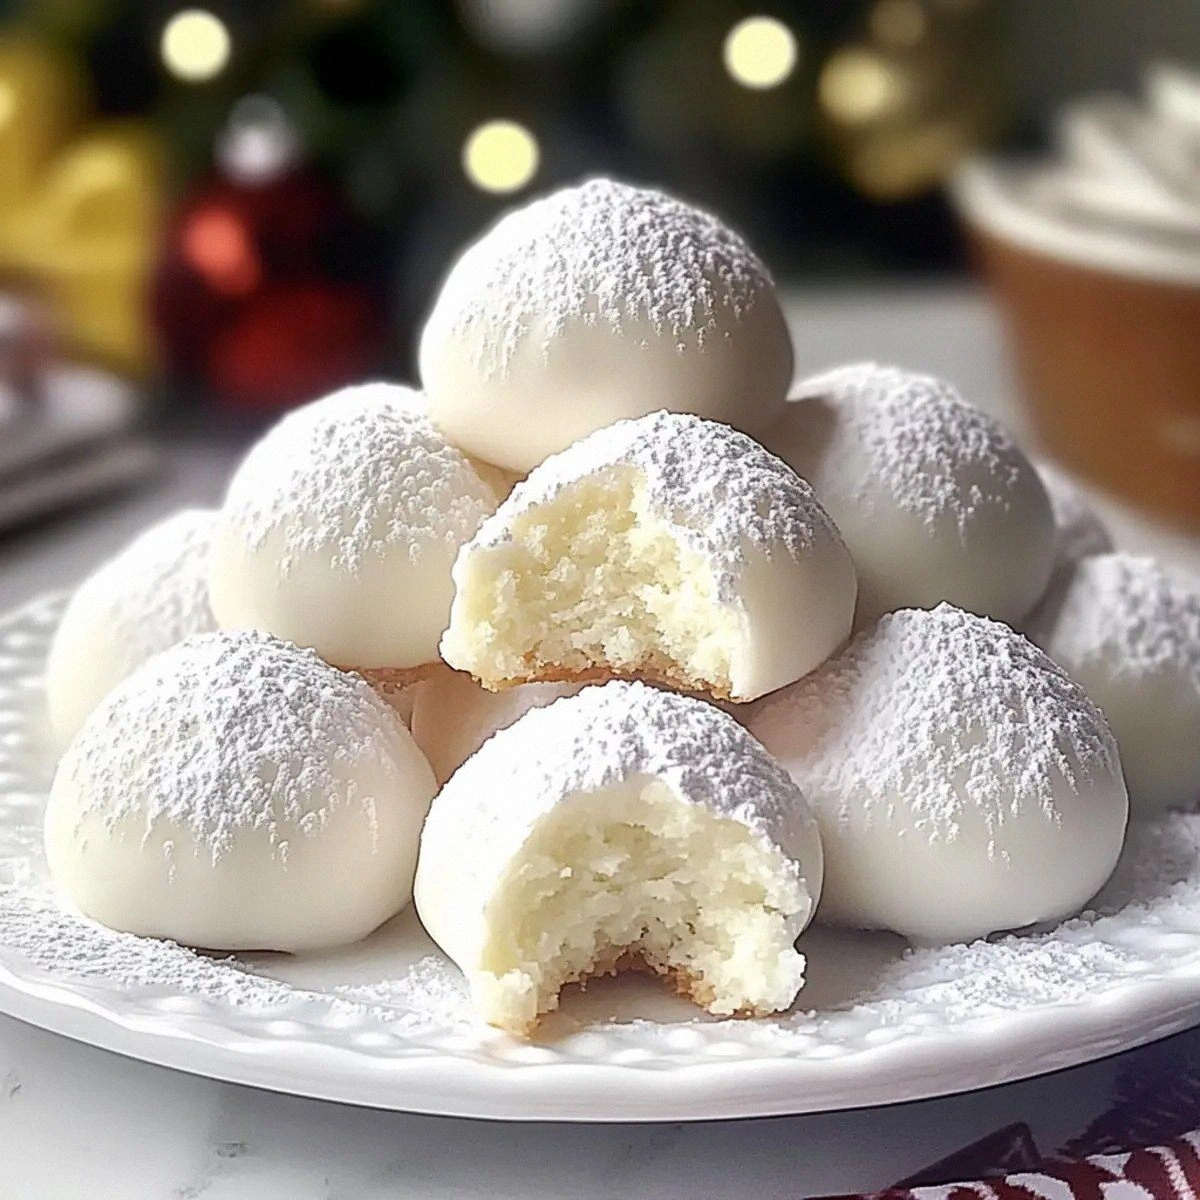
Picture this: a late‑night craving for something buttery, sweet, and melt‑in‑your‑mouth, but the pantry only has a can of sweetened condensed milk and a half‑hearted batch of flour left. I was half‑sleepwalking to the fridge when my mind shouted, “Make snowball cookies!” The next thing I knew, I was whisking butter into a cloud‑like foam, and the kitchen smelled like a bakery on a sugar high. I’ll be honest — I ate half the batch before anyone else got to try it, and the rest vanished in seconds. That moment of pure, buttery bliss made me realize I’d stumbled onto a cookie that could out‑shine any store‑bought version.
What sets this recipe apart is the secret weapon: sweetened condensed milk. Most snowball cookies rely on plain sugar, but this condensed milk adds a caramel‑kissed depth that coats the dough like velvet. The result is a cookie that’s crisp on the edges, yet soft and chewy in the center, with a melt‑away sweetness that lingers like a memory of a summer fair. Most recipes get this completely wrong—either too dry or overly sugary. Here’s what actually works: a perfect balance of butter, condensed milk, and a whisper of baking powder that gives a subtle lift without compromising the melt.
Imagine pulling a tray of golden‑brown orbs from the oven, the whole kitchen smelling like a buttery snowstorm, and the first bite cracking with that satisfying snap before giving way to a melt‑in‑your‑mouth interior. That sizzle when the butter hits the pan? Absolute perfection. I dare you to taste this and not go back for seconds; the cookie’s sweet‑but‑not‑cloying profile will have you reaching for the plate again and again. And now the fun part—let’s walk through every single step. By the end, you’ll wonder how you ever made it any other way.
Okay, ready for the game‑changer? This version uses a single can of sweetened condensed milk, which not only sweetens but also adds moisture and a glossy finish that makes the cookies look as good as they taste. The technique is simple, but there are a few pro tips that turn an ordinary bake into a show‑stopping dessert. Stay with me here — this is worth it.
What Makes This Version Stand Out
- Flavor: The condensed milk brings a caramel‑rich sweetness that ordinary sugar can’t match, creating a depth that feels indulgent yet balanced.
- Texture: A buttery crust that cracks like thin ice, revealing a soft, melt‑away center that’s practically a cloud.
- Simplicity: Only five ingredients, all pantry staples, and a handful of minutes of hands‑on time.
- Uniqueness: Most snowball cookies skip the condensed milk, missing out on that glossy, caramel‑kissed finish.
- Crowd Reaction: Guests often claim it’s “the best cookie they’ve ever had” and ask for the recipe on the spot.
- Ingredient Quality: Using real butter (not margarine) and a quality brand of condensed milk makes a world of difference.
- Cooking Method: Baking at a moderate temperature ensures the edges crisp while the centers stay tender.
- Make‑Ahead Potential: These cookies store beautifully, staying fresh for weeks and even improving in flavor after a day.
Alright, let's break down exactly what goes into this masterpiece...
Inside the Ingredient List
The Flavor Base
1 cup softened butter: This is the backbone of any good cookie. It provides richness, contributes to the crisp edges, and carries the flavor of the condensed milk throughout. If you skip butter for a margarine substitute, expect a waxy texture and a less buttery aroma. For the best results, use unsalted butter and add a pinch of sea salt to accentuate the sweet notes.
The Sweet Whisper
1 can sweetened condensed milk: The star of the show. Its thick, caramel‑like consistency not only sweetens but also adds moisture, giving the cookies that melt‑away interior. When you open the can, the scent alone is enough to make anyone’s mouth water. If you’re out of condensed milk, a mixture of ¾ cup sugar dissolved in ½ cup milk won’t replicate the same depth, but it’s a decent emergency swap.
The Texture Crew
2 cups all‑purpose flour: The structure builder. It absorbs the butter and condensed milk, creating a dough that holds its shape. Using cake flour would make the cookies too tender, while bread flour would make them overly tough. For a lighter crumb, sift the flour twice before measuring.
1 teaspoon baking powder: This tiny leavening agent gives the cookies a subtle lift, ensuring the centers stay soft. Too much would cause them to puff and lose that classic snowball shape. If you’re out of baking powder, a pinch of baking soda plus a splash of lemon juice can mimic the effect, but the texture will be slightly different.
The Final Flourish
1 cup confectioner’s sugar: This is rolled around the dough balls before baking, creating that signature snowy coating. It also adds a delicate crunch that contrasts beautifully with the soft interior. If you prefer a less sweet finish, you can dust with a mix of powdered sugar and a pinch of cinnamon for a warm twist.
Everything's prepped? Good. Let's get into the real action...
The Method — Step by Step
Preheat your oven to 350°F (175°C). While the oven warms, line two baking sheets with parchment paper; this prevents sticking and gives the cookies a uniform golden hue. I always set a timer for the preheat so I don’t lose track, because walking into a cold oven is a rookie mistake. The moment the oven clicks, you’ll hear that comforting hum that says “we’re ready.”
In a large mixing bowl, cream the softened butter until it’s light and fluffy, about 2‑3 minutes with an electric mixer on medium speed. The butter should turn a pale yellow and increase in volume, a visual cue that air has been incorporated. This step is crucial; if you rush it, the cookies will be dense. Power transition: okay, now watch this part closely — the butter is the foundation.
Add the can of sweetened condensed milk to the creamed butter. Beat on low speed until the mixture is smooth and glossy, resembling a thick caramel sauce. You’ll notice the bowl darkening slightly, a sign that the flavors are marrying. That sizzle when it hits the pan? Absolute perfection. If the mixture looks grainy, keep mixing; the sugar will dissolve fully.
In a separate bowl, whisk together the flour and baking powder. This ensures the leavening is evenly distributed, preventing pockets of rise that could ruin the snowball shape.
Kitchen Hack: Sift the flour directly over the butter‑condensed milk mixture to avoid a flour cloud on the countertop.Gradually add the dry ingredients to the wet mixture, stirring with a spatula until just combined. Over‑mixing will develop gluten, making the cookies tough. Stop as soon as you see no more flour streaks; the dough will look slightly shaggy but cohesive. This is the moment of truth—if the dough feels too sticky, add a tablespoon of extra flour, but be careful not to over‑correct.
Cover the bowl with plastic wrap and chill the dough for 15‑20 minutes.
This cooling step firms the butter, ensuring the cookies keep their shape during baking.Watch Out: If you skip chilling, the dough will spread too much, resulting in thin, crispy discs instead of plump snowballs.While the dough chills, place the confectioner’s sugar in a shallow bowl. Once the dough is firm, scoop out tablespoon‑sized portions and roll them between your palms into smooth balls. Then roll each ball in the powdered sugar, coating it completely. The sugar coating should cling like a light dusting of snow; if it slides off, give the ball a gentle press to help it adhere.
Arrange the coated balls on the prepared baking sheets, spacing them about 2 inches apart. As they bake, they’ll spread just a little, forming a perfect round shape. Slide the trays into the preheated oven and bake for 12‑15 minutes, or until the edges turn a light golden brown and the tops look set. You'll know they’re done when the edges start pulling away from the parchment. Resist the urge to open the oven early; the steam inside is essential for that soft interior.
Remove the cookies from the oven and let them cool on the sheet for 5 minutes before transferring to a wire rack. This brief rest lets the cookies set, preventing them from breaking apart. As they cool, the powdered sugar will melt slightly, creating a subtle sheen that looks like a fresh snowfall. Serve warm for maximum melt‑in‑your‑mouth magic, or store for later indulgence.
That's it — you did it. But hold on, I've got a few more tricks that'll take this to another level...
Insider Tricks for Flawless Results
The Temperature Rule Nobody Follows
Never bake these cookies straight from the fridge at a scorching 400°F. The high heat will cause the butter to melt too quickly, resulting in a greasy crumb. Instead, keep the oven at a moderate 350°F and let the dough rest at room temperature for 5 minutes after chilling. This small adjustment ensures the cookies rise gently and stay tender.
Why Your Nose Knows Best
When the cookies are about 10 minutes into baking, start sniffing the kitchen. A faint toasty aroma means the edges are caramelizing perfectly. If you detect a burnt smell, pull the trays out immediately; the sugars can turn bitter in just a few seconds. Trusting your sense of smell is more reliable than a timer alone.
The 5‑Minute Rest That Changes Everything
After the cookies come out of the oven, let them sit on the baking sheet for exactly five minutes before moving them to a rack. This brief rest allows the interior to finish setting while the exterior stays crisp. Skipping this step often leads to crumbly cookies that fall apart when you try to lift them.
Butter Temperature Trick
Softened butter is essential, but if it’s too warm it will blend into the condensed milk like a liquid, making the dough spread excessively. The sweet spot is butter that leaves an indentation when pressed with a fingertip but doesn’t melt. If you’re in a hot kitchen, pop the butter in the freezer for 10 minutes to achieve the perfect consistency.
Rolling the Snowballs
Use a small cookie scoop (about 1‑tablespoon size) to ensure uniform size. This not only looks professional but also guarantees even baking. If you don’t have a scoop, a tablespoon works fine—just level off the excess with a straight edge.
Creative Twists and Variations
This recipe is a playground. Here are some of my favorite ways to switch things up:
Lemon Zest Snowballs
Add the zest of one large lemon to the butter‑condensed milk mixture before incorporating the dry ingredients. The citrus brightens the sweet caramel notes and adds a refreshing zing that pairs beautifully with the powdered sugar.
Chocolate‑Dipped Delight
Once the cookies have cooled, dip half of each ball in melted dark chocolate and sprinkle with a pinch of sea salt. The bitter chocolate contrast amplifies the sweetness, creating a sophisticated bite that’s perfect for holiday gatherings.
Spiced Pumpkin Snowballs
Swap half of the all‑purpose flour for pumpkin puree (about ½ cup) and add a teaspoon of pumpkin spice. The result is a moist, autumn‑inspired cookie with a caramel‑like interior and a subtle spice aroma.
Coconut Snowballs
Replace half of the confectioner’s sugar with finely shredded coconut for the coating. The toasted coconut adds a chewy texture and a tropical flavor that’s unexpected yet delightful.
Nutty Crunch
Fold in ½ cup of finely chopped toasted almonds or pecans into the dough before chilling. The nuts give an extra crunch that contrasts the soft center, and the buttery flavor of the nuts melds perfectly with the condensed milk.
Storing and Bringing It Back to Life
Fridge Storage
Place the cooled cookies in an airtight container lined with parchment paper. They’ll stay fresh for up to a week. If you notice the powdered sugar hardening, lightly brush the tops with a teaspoon of melted butter before resealing.
Freezer Friendly
These cookies freeze like a dream. Stack them between sheets of wax paper, then seal the container or zip‑lock bag. They’ll keep for three months. When you’re ready to indulge, let them thaw at room temperature for 15 minutes, then pop them in a 300°F oven for 5 minutes to revive that fresh‑out‑of‑the‑oven texture.
Best Reheating Method
To bring back that melt‑in‑your‑mouth magic, place the cookies on a baking sheet, splash a tiny drizzle of water (just a few drops) onto the tray, and heat at 300°F for 4‑6 minutes. The steam created by the water re‑hydrates the interior while the exterior crisps up again.