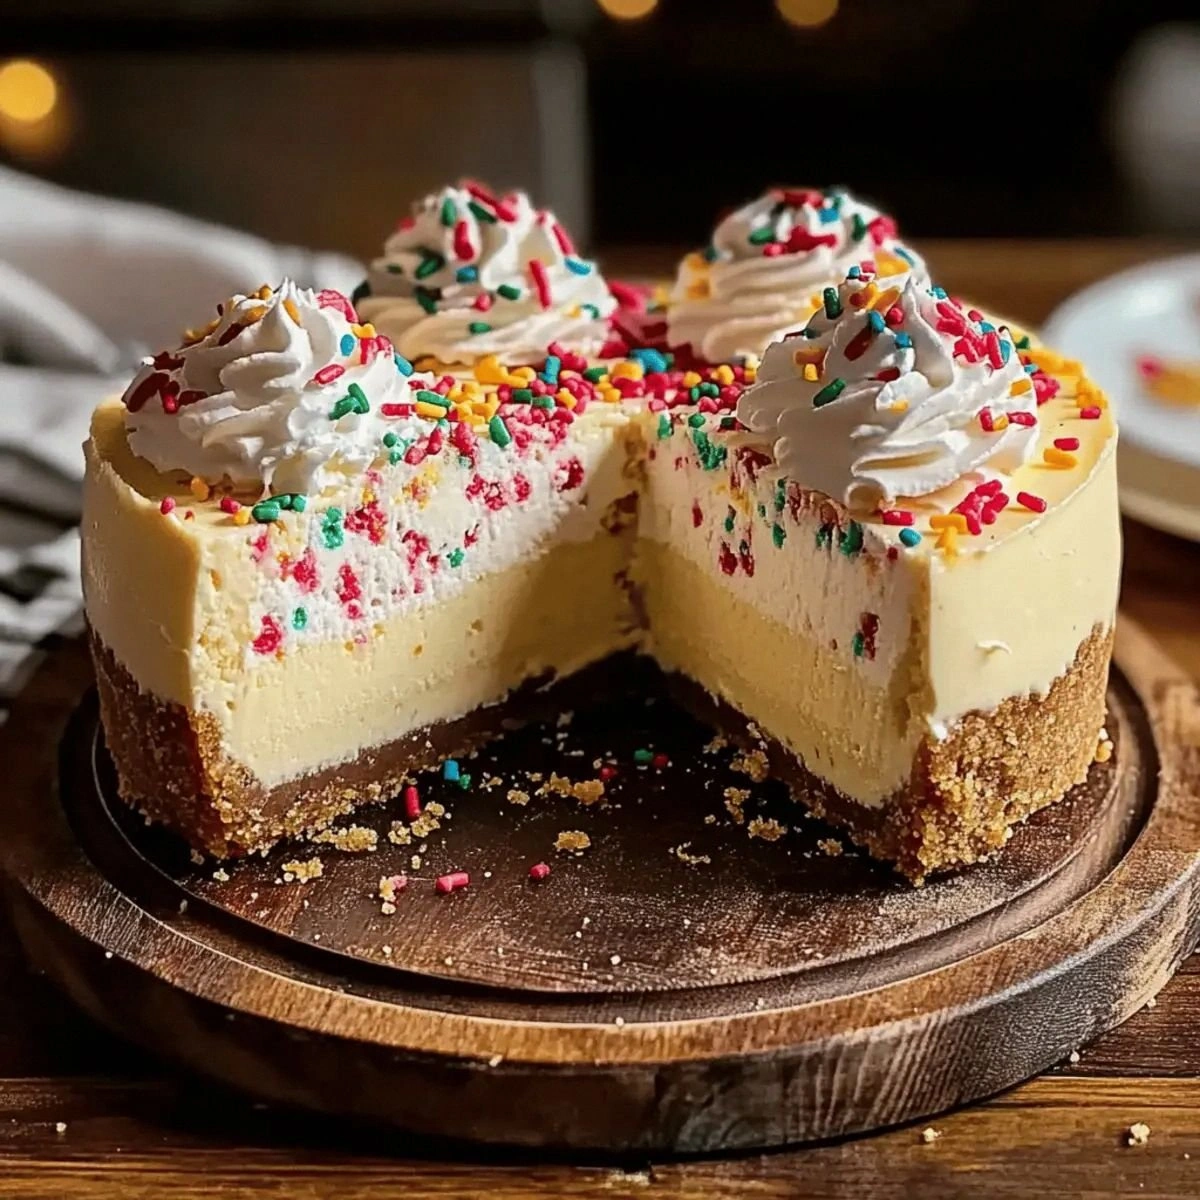
I was standing in my cramped kitchen, juggling a blender, a saucepan, and a bag of white chocolate chips when the disaster unfolded. The chocolate began to seize, clumping into a lumpy, unappetitive mass that made me curse my life choices. I stared at the stubborn mess, realizing that my love for chocolate had turned into a nightmare. That moment sparked a frantic search for a solution that would rescue my sweet tooth without turning my kitchen into a science experiment. I was determined to find a recipe that was both simple and spectacular, a sweet fix that would silence the chaos.
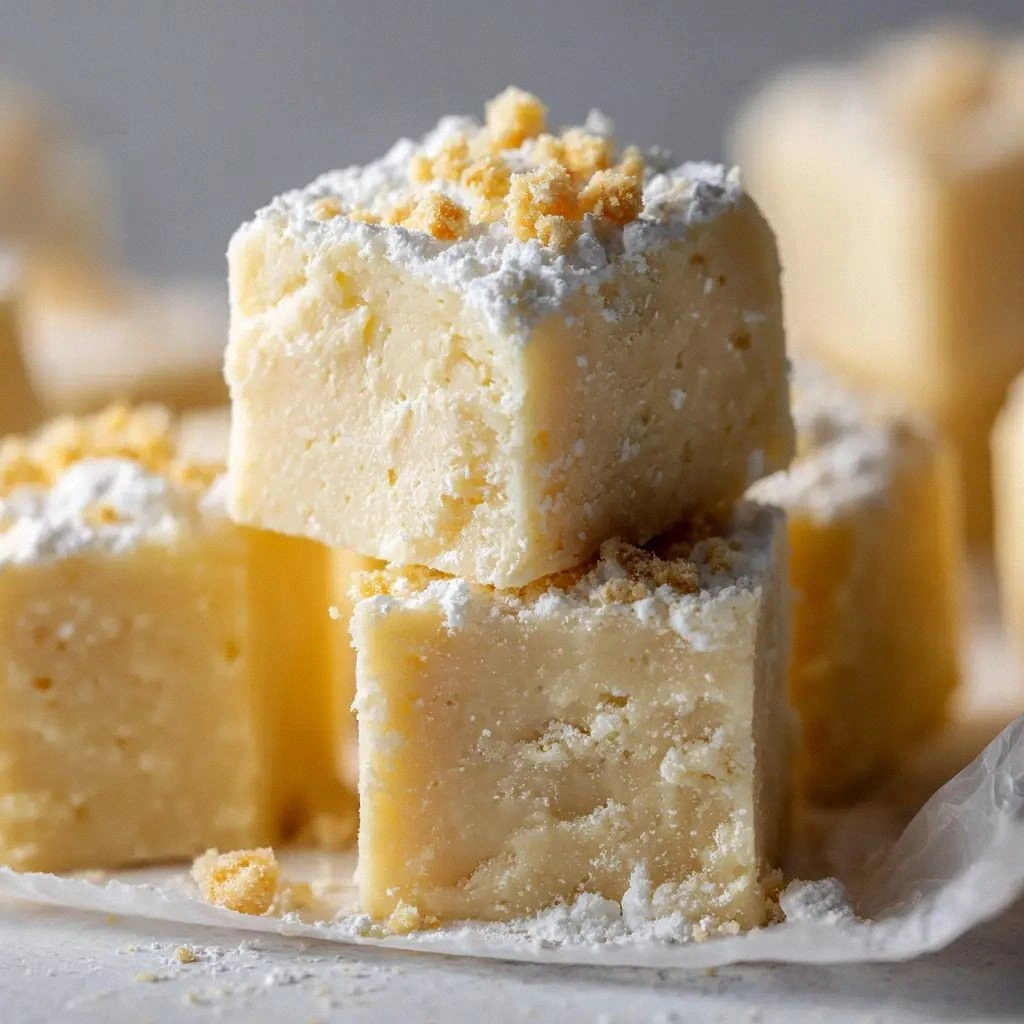
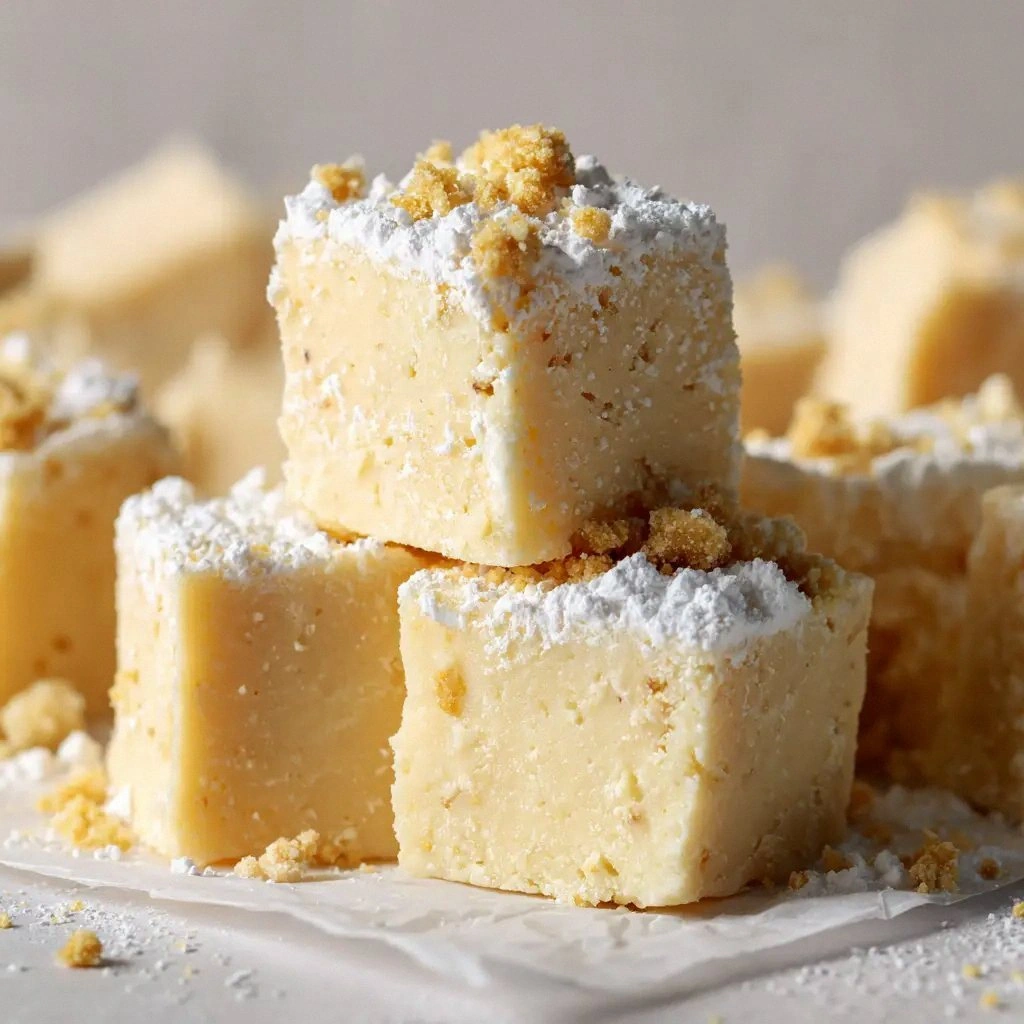
The first thing that hit me was the scent—rich, buttery vanilla laced with a faint, sweet banana aroma that seemed almost too good to be true. The sound of the chocolate melting was a soft, comforting hiss, like a quiet lullaby for the senses. When I finally tasted a spoonful, the creamy texture felt like velvet against my tongue, the sweetness balanced by a subtle, almost citrusy tang from the banana extract. The visual was a glossy, ivory sheen that glimmered like a polished gem, promising indulgence with every bite. The feeling in my hands, holding the saucepan, was a warm, comforting weight that made me feel like a culinary magician.
What sets this version apart is that it eliminates the dreaded seizing of chocolate, thanks to the precise ratio of condensed milk and butter that keeps the mixture silky smooth. The banana extract adds depth without overpowering, creating a flavor profile that feels like a tropical sunrise in a single bite. Unlike other recipes that rely on heavy cream or artificial flavorings, this one uses only five ingredients, each chosen for their pure, unadulterated power. The result is a fudge that melts in your mouth like a dream, yet stays firm enough to cut clean slices. It’s the kind of dessert that turns a simple kitchen into a sweet sanctuary.
I discovered that the secret to that silky finish lies in the way you heat the mixture—slow, low, and steady, like coaxing a shy guest to open up. The trick is to stir constantly, ensuring that the chocolate never hits a hot spot that could cause it to seize. I also found that a splash of vanilla extract can elevate the flavor profile, but only if added at the very end, after the heat has been turned off. This small adjustment turns a good fudge into an unforgettable experience. Trust me, the difference is palpable, and it’ll make your taste buds sing.
Let me walk you through every single step—by the end, you'll wonder how you ever made it any other way. I’ll reveal the exact measurements, the precise timing, and the sensory checkpoints that will keep you on track. We’ll go from a simple saucepan to a glossy, perfect fudge that can be poured, sliced, and stored with confidence. And if you’re ready for a game‑changer, you’ll see how a few minor tweaks can elevate this treat into a showstopper. Stay with me here—this is worth it.
Picture yourself pulling this out of the fridge, the whole kitchen smelling incredible, the light catching on the glossy surface, and your guests’ eyes widening as they take their first bite. You’ll feel the rush of accomplishment that only a homemade dessert can deliver. And if you’re skeptical, just remember the dare I made to myself: I promised I’d taste this and not go back for seconds, and I still can’t. This is not just a recipe; it’s a moment of triumph, a sweet victory over the ordinary. Let’s dive in.
What Makes This Version Stand Out
When I first tasted this fudge, I realized that it wasn’t just another chocolate treat—it was a revelation in texture, flavor, and simplicity. Every element was meticulously chosen to create a harmony that feels both luxurious and approachable. The result is a dessert that feels like a personal indulgence yet is perfect for sharing. Below are the key reasons why this version is hands down the best you'll ever make at home.
- Flavor: This fudge boasts a layered flavor that begins with the sweet richness of condensed milk, followed by the subtle banana undertone, and finishes with a gentle buttery finish. The combination creates a balanced profile that satisfies the sweet tooth without overwhelming.
- Texture: The silky, melt‑in‑your‑mouth consistency is achieved by precise temperature control and constant stirring, preventing clumps and ensuring a smooth finish. The final product is firm enough to cut clean slices yet soft enough to melt instantly.
- Simplicity: With only five ingredients, you can whip up this masterpiece in less than 30 minutes, no fancy equipment required. The recipe is a testament to how less can be more.
- Uniqueness: The inclusion of banana extract gives it a tropical twist that sets it apart from classic chocolate fudge. It’s a flavor that surprises and delights.
- Crowd Reaction: Friends and family rave about the smooth texture and the unexpected banana note, making it a conversation starter at gatherings. It’s the kind of dessert that people ask for seconds.
- Ingredient Quality: Using premium white chocolate chips and fresh, high‑quality condensed milk ensures a decadent flavor profile that can't be replicated by generic brands. Quality ingredients make all the difference.
Alright, let's break down exactly what goes into this masterpiece...
Inside the Ingredient List
The Flavor Base
White chocolate chips are the cornerstone of this fudge, providing a creamy sweetness that balances the richness of condensed milk. Choosing high‑quality chips with a cocoa butter content of at least 20% ensures a silky melt and prevents a chalky finish. If you skip the white chocolate, the fudge will become overly sweet and lack depth, turning into a simple caramel. A good swap is using dark chocolate chips with a lower cocoa content, but this will shift the flavor toward bittersweet, which might not pair as well with banana.
The Texture Crew
Sweetened condensed milk is the binder that gives the fudge its luscious, thick body, and it also adds a subtle caramel flavor. The milk must be poured at room temperature to avoid separation; if you use refrigerated milk, the mixture can curdle. Skipping it will leave the fudge too thin, making it impossible to cut or store. If you’re lactose intolerant, a coconut milk alternative can be used, but be aware it will introduce a coconut undertone.
The Unexpected Star
Banana extract is the secret weapon that gives this fudge its tropical aroma and a subtle, sweet‑tart flavor. A single teaspoon is enough to infuse the entire batch; using fresh mashed banana would dilute the chocolate and alter the texture. If you omit it, the fudge will taste like vanilla‑laden chocolate, missing its unique twist. A creative swap is a splash of almond extract for a nutty twist, but keep it minimal to avoid overpowering the chocolate.
The Final Flourish
Butter adds richness and a glossy sheen, while also lowering the viscosity to help the fudge set properly. Butter must be unsalted to control the final salt level; a salted butter will make the fudge taste too salty. Skipping butter will result in a dull, flat finish that lacks the buttery mouthfeel. A small amount of coconut oil can replace butter for a dairy‑free version, but the texture will be slightly different.
Everything's prepped? Good. Let's get into the real action...
The Method — Step by Step
- Gather all five ingredients and let them sit at room temperature for about 15 minutes. This ensures that the butter melts smoothly and the chocolate doesn’t seize. The gentle warmth of the room is the secret to a silky final product. When the ingredients are at the same temperature, they blend seamlessly into a homogeneous mixture.
- Place a medium saucepan over low heat and add the butter. Stir until it’s fully liquid, watching carefully to avoid scorching. The butter’s aroma should fill the kitchen, a prelude to the indulgence to come. This step sets the stage for the chocolate’s gentle melt.
- Add the white chocolate chips, stirring constantly with a silicone spatula. The chips should melt into a glossy, ivory pool. Keep the heat low; a steady, low flame prevents clumping. The sound of the chocolate dissolving is the soundtrack of success.
- Pour in the sweetened condensed milk, stirring until the mixture is smooth and glossy. The mixture should have a silky sheen that invites you to taste. If you notice any lumps, keep stirring; they’ll disappear with patience. The texture should feel like a thick, luxurious custard.
- Add the banana extract, stir gently, and let the mixture cool for about 2 minutes. The banana aroma should become more pronounced, hinting at the tropical twist. Avoid over‑stirring; you want a smooth, uniform blend. The mixture should still be pourable but slightly thickened.
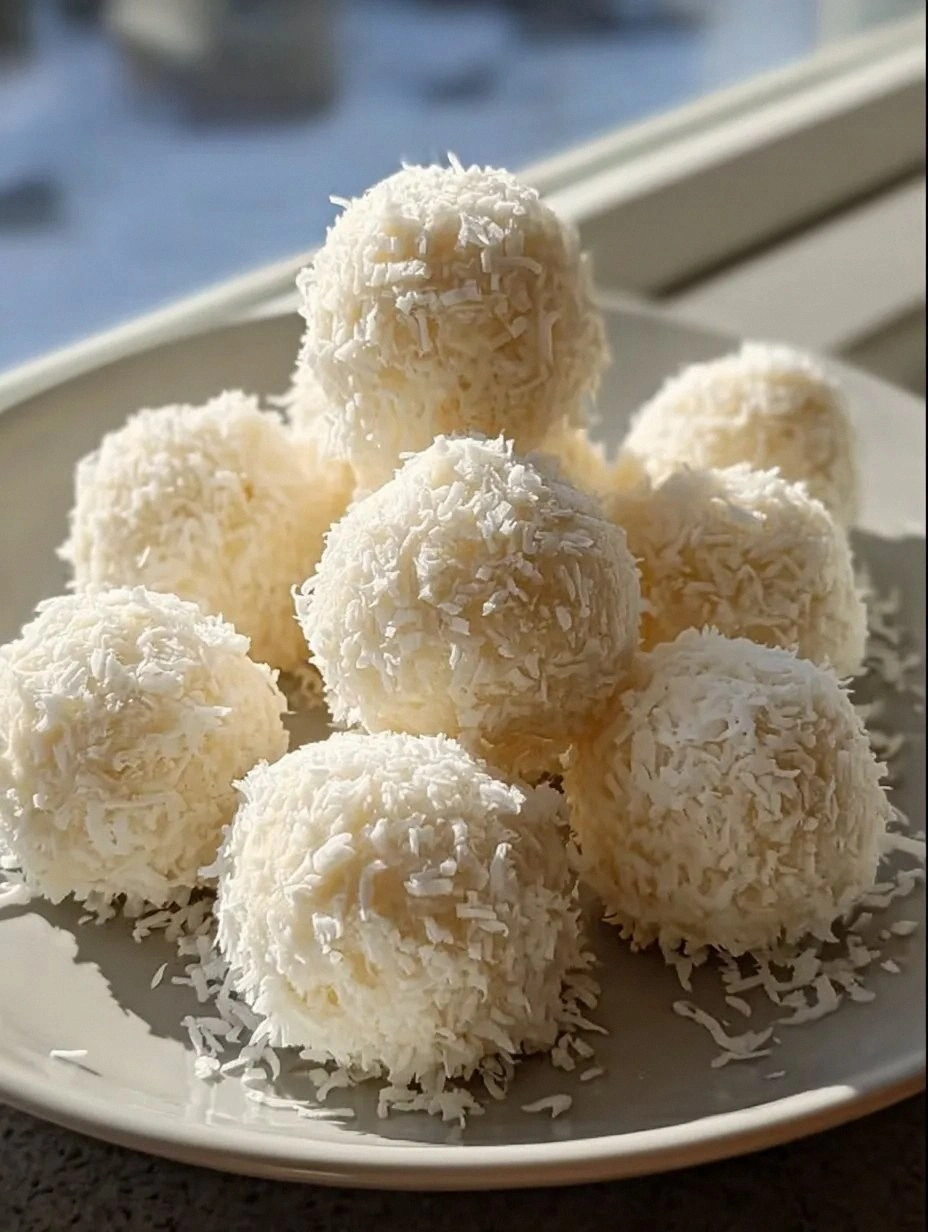
- Pour the mixture into a lined loaf pan and tap the pan gently to release air bubbles. The glossy surface should look like a smooth lake. Let the fudge set at room temperature for at least 2 hours, or refrigerate for 30 minutes to speed up the setting process. The edges will begin to pull away from the pan when it's ready.
- Once set, cut the fudge into squares, wrap each piece individually with wax paper, and store in an airtight container. The fudge will keep well in the fridge for up to a week. For longer storage, freeze the wrapped squares; they’ll stay fresh for up to a month.
That's it — you did it. But hold on, I've got a few more tricks that'll take this to another level. These extra touches will elevate the flavor profile, enhance the texture, and make serving a breeze. You’ll be the host with the most delicious treat, and your guests will thank you for the extra care. Let’s explore these insider secrets.
Insider Tricks for Flawless Results
The Temperature Rule Nobody Follows
The key to silky fudge is maintaining a temperature between 105°F and 115°F during the entire melting process. A thermometer is your best friend; once you hit the sweet spot, you can reduce the heat and let the mixture finish on its own. This rule ensures the chocolate doesn’t seize, and the butter stays emulsified. A friend tried skipping this step once, and the fudge turned into a clumpy mess that could never be salvaged.
Why Your Nose Knows Best
As the mixture cooks, your nose will give you real-time feedback. A faint, buttery scent indicates that the butter has melted properly, while a sweet, chocolatey aroma signals the chocolate is fully incorporated. If you notice a metallic or burnt smell, the heat is too high. Trusting your nose saves you from overcooking and preserves the delicate balance of flavors.
The 5-Minute Rest That Changes Everything
After pouring the fudge into the pan, let it rest for exactly five minutes before moving it. This brief pause allows the surface to set, making it easier to cut clean squares. It also lets the flavors meld, creating a richer taste. Many people skip this step, resulting in uneven texture and difficulty cutting.
Cutting Technique for Clean Slices
Use a hot, damp knife to slice the fudge; the heat melts the surface slightly, preventing sticking. Wipe the knife between cuts for a smooth edge. A dull knife will crush the fudge, producing uneven pieces that melt too quickly. A friend once used a regular kitchen knife and ended up with ragged, uneven squares.
How to Keep It Fresh Longer
Wrap each piece individually in wax paper before placing them in an airtight container. This prevents condensation from forming and keeps the fudge firm. Store the container in the fridge, not the freezer, unless you plan to use the fudge within a month. If you do freeze, thaw at room temperature for an hour before serving.
Serving Suggestions for Extra Wow
Serve the fudge with fresh berries or a drizzle of caramel sauce for an elevated presentation. A dusting of cocoa powder adds visual appeal and a subtle bitterness that balances the sweetness. Pair it with a glass of chilled milk or a scoop of vanilla ice cream for a classic dessert combo.
Creative Twists and Variations
This recipe is a playground. Here are some of my favorite ways to switch things up:
Nutty Banana Bliss
Add a handful of chopped pecans or walnuts to the mixture before pouring. The nuts add crunch and a buttery flavor that complements the banana extract. This variation works well for a festive holiday dessert.
Citrus Kick
Replace the banana extract with orange zest or a splash of orange liqueur. The citrus adds brightness and a zesty contrast to the sweet fudge. It’s a refreshing take for summer gatherings.
Salted Caramel Swirl
Fold in a swirl of salted caramel sauce before setting. The caramel adds depth and a touch of saltiness that balances the sweetness. It’s a decadent twist for special occasions.
Dairy‑Free Delight
Use coconut milk instead of sweetened condensed milk and coconut oil instead of butter. The result is a creamy, dairy‑free fudge with a subtle coconut flavor. Perfect for vegan friends.
Coffee Infusion
Stir in a teaspoon of instant espresso powder or a splash of cold brew coffee. The coffee adds a deep, rich flavor that pairs beautifully with chocolate. It’s an adult‑friendly dessert.
Chocolate‑Covered Banana Bites
Drop spoonfuls of the fudge onto parchment, freeze until firm, then roll in melted dark chocolate. The result is bite‑size treats that combine banana, chocolate, and a crunchy coating. Great for parties or gift boxes.
Storing and Bringing It Back to Life
Fridge Storage
Keep the fudge in an airtight container in the refrigerator for up to a week. The cold environment preserves the texture and flavor, preventing the fudge from becoming too soft. Wrap each piece in wax paper before placing them in the container to avoid sticking.
Freezer Friendly
Wrap each piece individually in plastic wrap and place them in a freezer‑safe bag. The fudge can be frozen for up to a month without losing quality. When ready to serve, let it thaw at room temperature for 30 minutes.
Best Reheating Method
To revive the fudge, place it in a microwave-safe bowl and heat on low for 15–20 seconds, stirring halfway through. A tiny splash of water before reheating steams the fudge back to a silky consistency. Be careful not to overheat; you want it warm, not hot.