Picture this: I was halfway through a dinner party, the guests were laughing, and the kitchen was a whirlwind of sizzling pans and fragrant steam. Suddenly, the oven door flew open and the chicken pieces slipped right into the hot oven, turning a simple roast into a chaotic scramble of charred edges and unevenly cooked meat. I stared at the mess, then realized I had a moment to turn disaster into delight. That night, I vowed to master a recipe that would rescue any kitchen mishap and deliver a comforting, melt‑in‑your‑mouth dish that would make everyone ask for seconds.
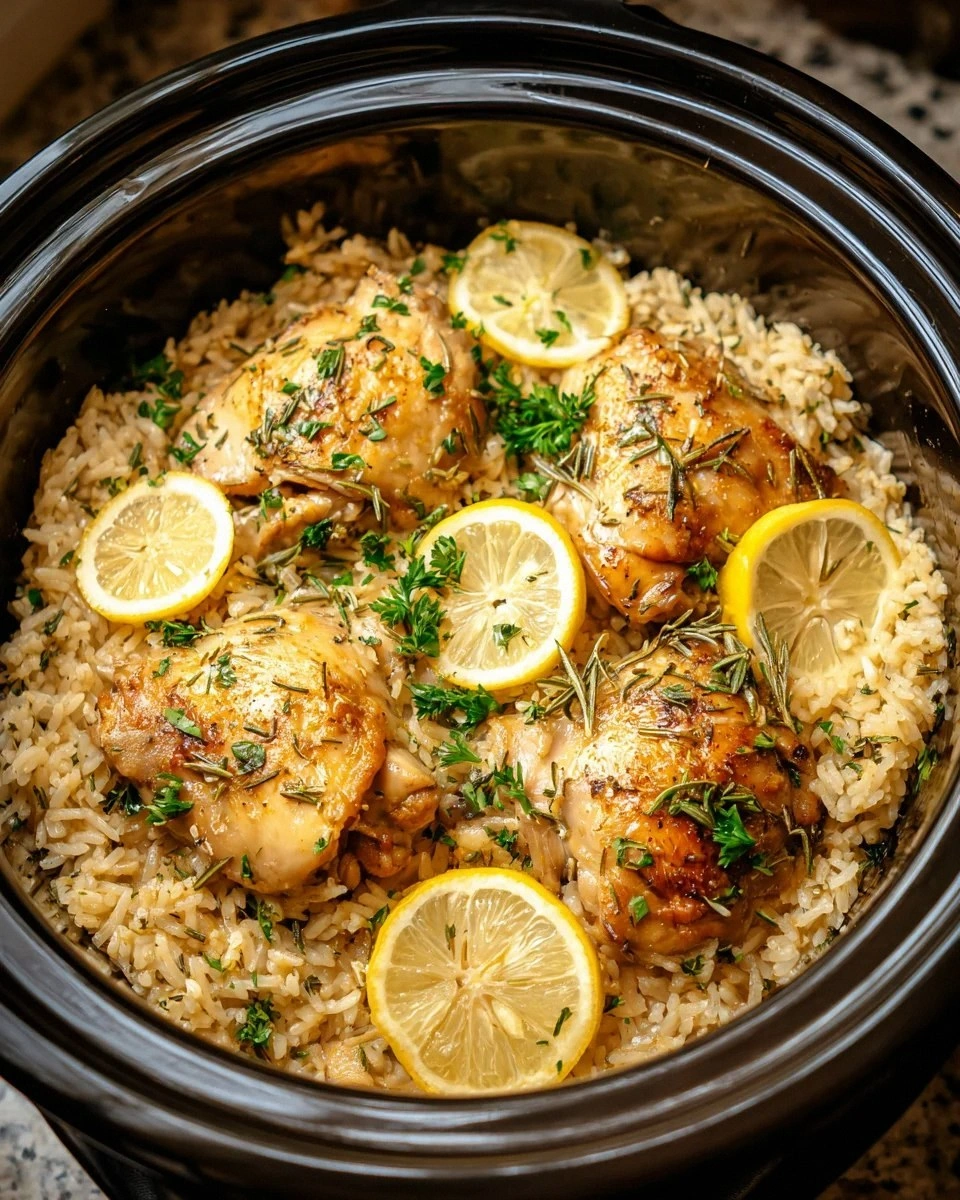
I started with the simplest ingredients: bone‑in, skin‑on chicken pieces that promise juicy tenderness, a generous slab of butter that melts into a silky base, and a handful of pantry staples like all‑purpose flour, chicken broth, and a splash of milk or cream. I didn’t want any fancy trimmings or exotic spices—just a few bold flavors that dance together. The moment the butter hit the pan, a crackling symphony filled the room, and the scent of roasting meat began to weave itself into the air. I could already taste the buttery gravy coating the chicken like a velvety blanket, each bite a promise of comfort.
What makes this version stand out is the way it balances simplicity with depth. The chicken is seared to lock in juices, then simmered in a sauce that thickens into a glossy, rich gravy that clings to every surface. The use of garlic and onion powder provides aromatic warmth without the mess of fresh aromatics, while fresh herbs add a bright, herbal note that lifts the dish. I dare you to taste this and not go back for seconds—you’ll find yourself reaching for the gravy spoon even after the plate is empty.
This isn’t just another chicken recipe; it’s a culinary confession. I’ll be honest—after the first batch, I ate half the chicken before anyone else could get a bite. Most recipes get this completely wrong, either over‑browning the meat or ending up with a thin, watery sauce. Picture yourself pulling this out of the oven, the whole kitchen smelling incredible, and the family gathering around, eyes wide as they discover that the gravy is the real star. Let me walk you through every single step—by the end, you’ll wonder how you ever made it any other way.
What Makes This Version Stand Out
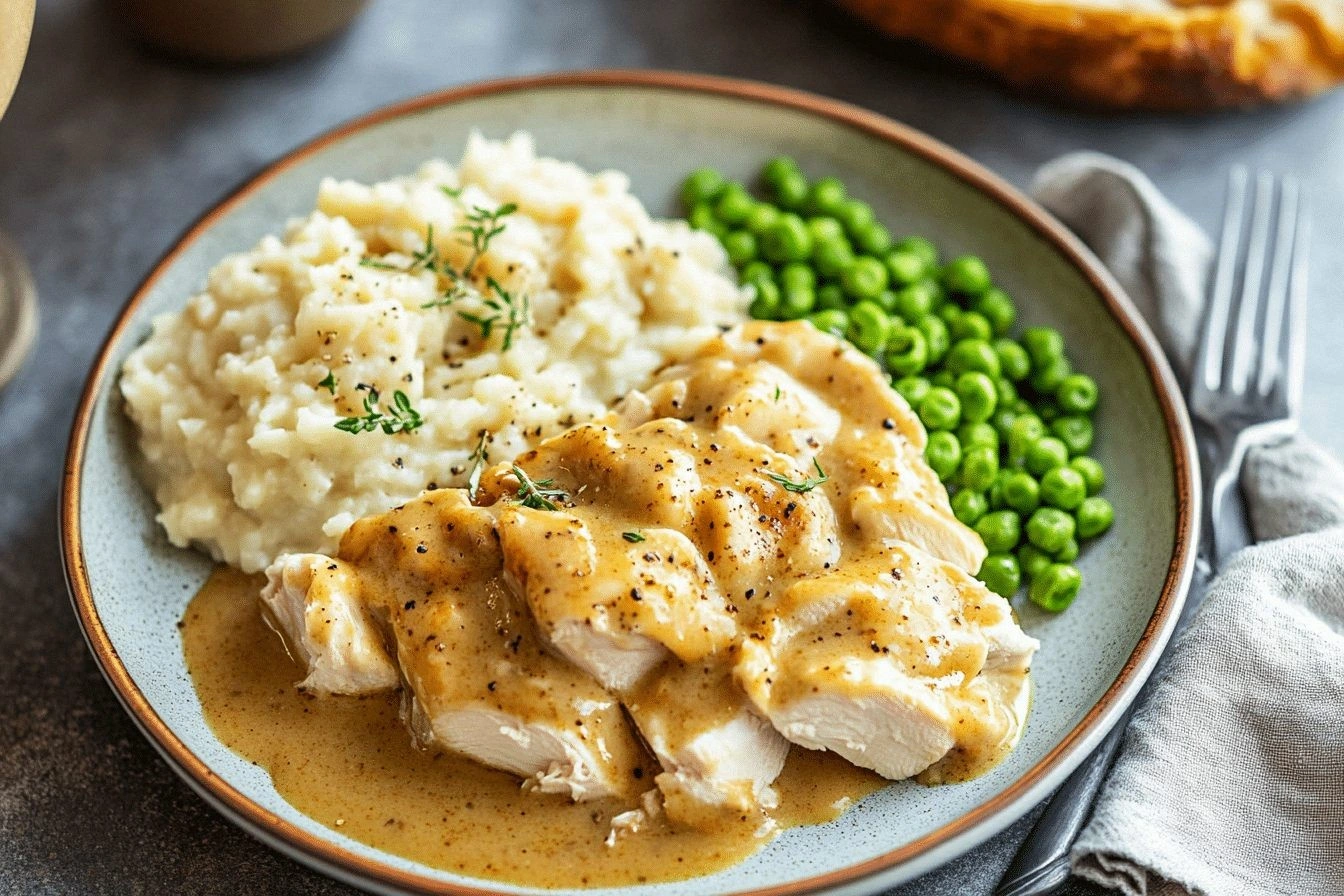
- Taste: The combination of butter, flour, and broth creates a deep, savory base that is both comforting and sophisticated. The subtle sweetness from the caramelized skin balances the salty depth of the broth, delivering a flavor profile that feels like home.
- Texture: The chicken achieves a perfect contrast—crisp, golden skin on the outside, tender, juicy meat inside—while the gravy boasts a silky, smooth consistency that clings to every bite.
- Simplicity: Only eight core ingredients, no complex sauces or secret techniques. This recipe is a reminder that great cooking can be straightforward.
- Uniqueness: The use of a roux‑based gravy that thickens naturally in the pan, coupled with the optional fresh herbs, gives this dish an unmistakable, homemade feel that sets it apart.
- Crowd Reaction: Friends and family rave about how “just like grandma’s kitchen” and keep asking for the recipe. The dish’s comforting nature makes it a guaranteed hit at gatherings.
- Ingredient Quality: Choosing high‑quality, fresh chicken and butter transforms a simple dish into an elevated experience. The better the base, the richer the final flavor.
- Cooking Method: Searing first, then simmering, ensures maximum flavor extraction and moisture retention, a technique that many overlook.
- Make‑ahead Potential: The dish holds up beautifully when refrigerated or frozen, making it ideal for meal prep or busy weeknights.
Alright, let's break down exactly what goes into this masterpiece…
Inside the Ingredient List
The Flavor Base
Butter is the cornerstone of this gravy. It not only adds richness but also creates a silky texture that coats the chicken like velvet. When melted, the butter releases a nutty aroma that sets the stage for the rest of the sauce. Skipping butter would leave the gravy thin and flat; the dish would lose its mouth‑watering depth. For an extra layer of flavor, melt the butter with a teaspoon of olive oil—this combination prevents the butter from burning at high temperatures.
The Texture Crew
All‑purpose flour is the secret thickening agent. By forming a roux with butter, it creates a smooth base that thickens as the sauce simmers. If you’re watching calories, you can reduce the flour by a quarter, but be prepared for a slightly thinner gravy. If you prefer a gluten‑free option, substitute with a gluten‑free flour blend or arrowroot powder. A good tip: whisk the flour into the butter slowly to avoid lumps, ensuring a silky finish.
The Unexpected Star
Chicken broth brings depth and savory notes that elevate the entire dish. Opt for low‑sodium broth to control salt levels, or make your own at home for the freshest flavor. The broth also helps balance the richness of the butter, preventing the gravy from becoming too heavy. If you can’t find broth, a simple chicken stock made from the carcasses of the same chicken pieces works wonders.
The Final Flourish
Milk or cream is added to finish the gravy, giving it a creamy, silky mouthfeel that melts into the chicken. A splash of heavy cream will make the sauce more luxurious, while milk keeps it lighter. If you’re lactose intolerant, use a dairy‑free milk or a blend of water and a tablespoon of flour to mimic the thickness. Fresh herbs such as thyme or parsley brighten the dish with bright, herbal notes that cut through the richness.
Everything's prepped? Good. Let's get into the real action…
The Method — Step by Step
- Start by patting the chicken pieces dry with paper towels; moisture is the enemy of crisp skin. Season each piece generously with salt, pepper, garlic powder, and onion powder. Let them sit at room temperature for 15 minutes—this helps the seasoning penetrate the meat. The air around the pan should feel warm and inviting, a prelude to the sizzle that’s about to begin.
- Heat a large skillet over medium‑high heat and add 2 tablespoons of butter. Once the butter foams and turns a light golden brown, slide the chicken pieces skin‑side down. The sound of the first sizzle should be crisp and satisfying, like a drumbeat announcing the start of a feast. Cook for 4–5 minutes without moving, allowing the skin to caramelize into a golden, crunchy shell.
- Flip the chicken and sear the other side for 3 minutes. While the chicken is searing, whisk 1 cup of flour with 2 cups of low‑sodium chicken broth until smooth. This creates a roux that will thicken the gravy. The aroma of the flour browning with butter should fill the kitchen, making the anticipation almost tangible.
- Pour the flour‑broth mixture into the skillet, stirring constantly to combine with the browned bits left from the chicken. This caramelized fond adds a deep, nutty flavor to the gravy. As the sauce thickens, reduce the heat to low and add 1 cup of milk or cream, whisking until fully incorporated. The gravy should reach a silky consistency that coats the back of a spoon.
- Add the chicken back into the skillet, nestling the pieces into the gravy. Sprinkle fresh thyme or parsley over the top for a burst of color and aroma. Let the dish simmer gently for 20 minutes, uncovered, until the chicken reaches an internal temperature of 165°F. The sauce should thicken further and develop a glossy sheen.
- Once the chicken is cooked, remove it from the skillet and let it rest on a plate for 5 minutes. Resting allows the juices to redistribute, ensuring every bite stays moist and flavorful. While the chicken rests, let the gravy reduce slightly to intensify the flavor.
- Taste the gravy and adjust the seasoning if necessary—add a pinch more salt, pepper, or a dash of hot sauce for a subtle kick. Serve the chicken pieces with the luscious gravy spooned over the top, and garnish with a sprinkle of fresh herbs. The final dish should look like a comforting masterpiece, with the gravy glistening like a fine lacquer.
That's it — you did it. But hold on, I've got a few more tricks that'll take this to another level…
Insider Tricks for Flawless Results
The Temperature Rule Nobody Follows
Cooking the chicken at the right temperature is critical. Start with medium‑high heat to achieve a crisp skin, then lower the heat to medium or low once the chicken is in the gravy. This prevents the skin from burning while ensuring the meat remains juicy. A friend tried searing the chicken on low heat, and the result was soggy skin and uneven cooking—lesson learned.
Why Your Nose Knows Best
The aroma of a well‑made gravy can tell you if you’re on the right track. As the roux browns, a nutty, buttery scent should fill the room. If the smell is metallic or raw, the flour hasn’t cooked enough—add a few more minutes of stirring. Trusting your nose is a skill that turns a good recipe into a great one.
The 5‑Minute Rest That Changes Everything
Letting the chicken rest for 5 minutes after cooking allows the juices to redistribute. Cutting into the meat right away can cause the juices to escape, leaving the chicken dry. The rest period also lets the gravy thicken slightly, creating a richer coating. I’ve seen people skip this step, and the difference is obvious—juicy versus dry.
The Secret of a Smooth Gravy
A smooth gravy comes from whisking continuously after adding the flour‑broth mixture. If lumps form, they can ruin the texture. Using a fine‑mesh sieve to strain the gravy after it has simmered can remove any imperfections and give it a professional finish. This trick is especially useful if you’re serving a crowd.
The Finish With Fresh Herbs
Fresh herbs not only add color but also a burst of brightness that cuts through the richness. Chop the herbs finely so they release their oils quickly. If you’re not a fan of thyme, try rosemary or sage for a slightly different herbal profile. The herbs should be added at the end to preserve their flavor.
Creative Twists and Variations
This recipe is a playground. Here are some of my favorite ways to switch things up:
Spicy Cajun Chicken
Swap the garlic and onion powder for a Cajun spice blend and add a splash of hot sauce to the gravy. The result is a bold, smoky flavor that pairs perfectly with a creamy grits side. Fans of heat will love the kick, while the gravy keeps the dish balanced.
Herb‑Infused Creamy Gravy
Replace the fresh thyme with a handful of rosemary and sage, and add a splash of lemon zest to the gravy. The citrus brightens the dish, while the herbs add depth. This version feels like a springtime dinner, even in winter.
Low‑Carb Twist
Use a cauliflower puree as a thickener instead of flour, and skip the milk entirely. The gravy becomes creamy with a subtle, mild flavor that complements the chicken. This variation is ideal for those watching their carb intake.
Gluten‑Free Gravy
Swap the all‑purpose flour for a gluten‑free blend or arrowroot powder. The thickening process stays the same, but the final texture is just as silky. This ensures everyone can enjoy the dish regardless of dietary restrictions.
Asian‑Inspired Chicken
Add a tablespoon of soy sauce and a teaspoon of sesame oil to the gravy, and finish with sliced green onions and toasted sesame seeds. The dish takes on an umami‑rich, slightly sweet profile that pairs wonderfully with steamed rice or noodles.
Vegan Version
Replace the chicken with thick slices of seared tofu or tempeh, and use vegetable broth and plant‑based milk. The gravy remains creamy and flavorful, while the tofu absorbs the savory sauce. This version is both hearty and comforting.
Storing and Bringing It Back to Life
Fridge Storage
Store leftovers in an airtight container in the refrigerator for up to 3 days. The gravy will thicken as it cools, so add a splash of water or broth when reheating to restore its silky texture. Keep the chicken pieces separate if you prefer to reheat them individually.
Freezer Friendly
Freeze the chicken and gravy separately in freezer‑safe containers for up to 2 months. Thaw overnight in the refrigerator before reheating. The gravy may separate slightly after freezing; whisking or adding a little warm water will re‑emulsify it.
Best Reheating Method
Reheat the gravy in a saucepan over low heat, stirring constantly, until it reaches the desired temperature. For the chicken, warm it in a preheated oven at 350°F for 10–15 minutes, or microwave on medium‑high for 2–3 minutes. Adding a tiny splash of water or broth before reheating steams the dish back to perfection.