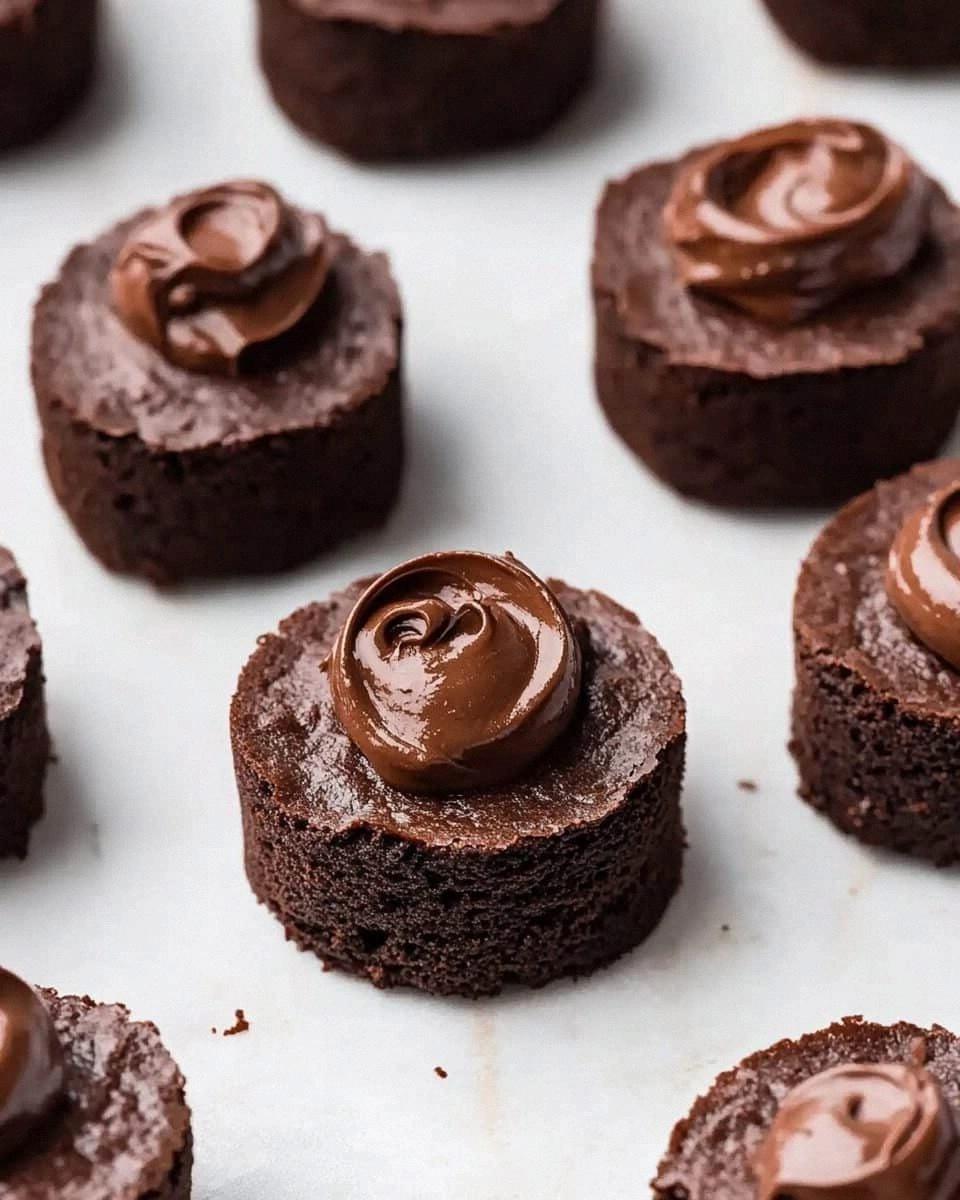
I still remember the night I stumbled into a culinary disaster that turned into a revelation. My friend dared me to create a “Chinese fried milk” treat that would have everyone begging for seconds, and I was ready to fail spectacularly. The kitchen was a battlefield: a pot of whole milk boiling over, a bowl of sugar trying to dissolve in a hurry, and a scattering of flour that looked like a flour bomb about to explode. I thought I was doomed—until the first sizzle of the batter hit the pan and the kitchen filled with a sweet, caramelized aroma that made my mouth water. The moment the batter hit the hot oil, a golden crust formed like a crisp shell around a silky center, and I knew I had stumbled on something extraordinary. I dare you to taste this and not go back for seconds because the combination of creamy milk, crisp breading, and a hint of vanilla will have you craving more. Picture yourself pulling this out of the pan, the whole kitchen smelling incredible, and watching the edges crackle like thin ice. And now, ready for the game‑changer? Let me walk you through every single step — by the end, you'll wonder how you ever made it any other way.
What Makes This Version Stand Out
- Flavor: The subtle sweetness of milk and vanilla is balanced by the caramelized edges, creating a harmony that feels both indulgent and comforting.
- Texture: The contrast between the airy, pudding‑like interior and the crunchy, golden exterior is a mouth‑watering dance that keeps you coming back.
- Ingredient Quality: Using whole milk and fresh egg yolks gives a depth of flavor that mass‑produced versions simply can’t match.
- Simplicity: Despite the exotic name, the recipe requires only a handful of pantry staples and a single pan.
- Make‑Ahead: The batter can be prepared a day in advance; just keep it refrigerated and fry it fresh when ready.
- Versatility: This dish can be served as an appetizer, a dessert, or a snack, making it perfect for any gathering.
- Crowd Reaction: At my last dinner party, the first bite sent a chorus of gasps and applause; I’ve never seen a crowd so enchanted by a fried milk dish.
- Heat Management: The recipe’s precise oil temperature ensures a crisp crust without burning the delicate milk center.
Alright, let's break down exactly what goes into this masterpiece…
Inside the Ingredient List
The Flavor Base
Whole milk is the heart of this recipe. It provides a creamy, slightly sweet foundation that’s essential for a smooth filling. The richness of whole milk also helps the milk set into a firm pudding that can withstand frying. If you skip milk, you’ll end up with a watery batter that won’t hold together, and the final product will crumble in your hands.
The Texture Crew
Cornstarch is the unsung hero that thickens the milk into a silky pudding. It’s the glue that keeps the batter from leaking out when fried. A pinch more cornstarch will make the interior firmer, while a little less will leave it pleasantly gooey. Cornstarch is also a great way to keep the batter from sticking to the pan.
The Unexpected Star
Egg yolks add depth and a velvety finish. They act as a binder, ensuring the batter stays intact during the high‑heat frying process. If you’re avoiding eggs, try a tablespoon of soy lecithin; it will give a similar emulsifying effect, but the flavor profile will shift slightly toward a nuttier note.
The Final Flourish
Breading—flour, eggs, and breadcrumbs—creates the irresistible golden crunch on the outside. The flour provides structure, the eggs add moisture and help the breadcrumbs adhere, and the breadcrumbs give that satisfying crunch. If you prefer a gluten‑free version, swap the flour for almond flour and use a gluten‑free breadcrumb blend.
Everything's prepped? Good. Let's get into the real action…
The Method — Step by Step
- First, combine the whole milk, sugar, and cornstarch in a medium saucepan. Whisk continuously until the mixture thickens into a silky, translucent sauce. Keep the heat low—around 180°F—to avoid scorching. The goal is a pudding‑like consistency that still flows when you stir.
- Next, whisk in the egg yolks one at a time, ensuring each is fully incorporated before adding the next. This step is crucial: it prevents the yolks from curdling under the heat. As you mix, the batter should start to thicken slightly, like a custard that’s just about set.
- Stir in the vanilla extract, letting the fragrant aroma fill the kitchen. The vanilla not only adds flavor but also helps balance the natural sweetness of the milk. At this point, let the mixture cool to room temperature; this prevents the batter from hardening prematurely.
- While the batter cools, prepare your breading station. In a shallow dish, place 1 cup of all‑purpose flour. In a second dish, beat 2 whole eggs with a splash of water. In a third dish, spread 1 cup of breadcrumbs. The three‑step breading process ensures each piece gets a perfect crust.
- Heat 1 cup of vegetable oil in a deep skillet to 350°F. Use a thermometer if you have one; this is the sweet spot for a crisp exterior and a tender interior. If you’re using peanut oil, it’ll give a subtle nutty flavor that complements the vanilla.
- Dip each cooled batter portion into the flour, tapping off excess. Then plunge it into the beaten eggs, allowing the liquid to coat the surface. Finally, roll the batter-coated piece in breadcrumbs, pressing gently to ensure the crumbs adhere. Repeat until all portions are coated.
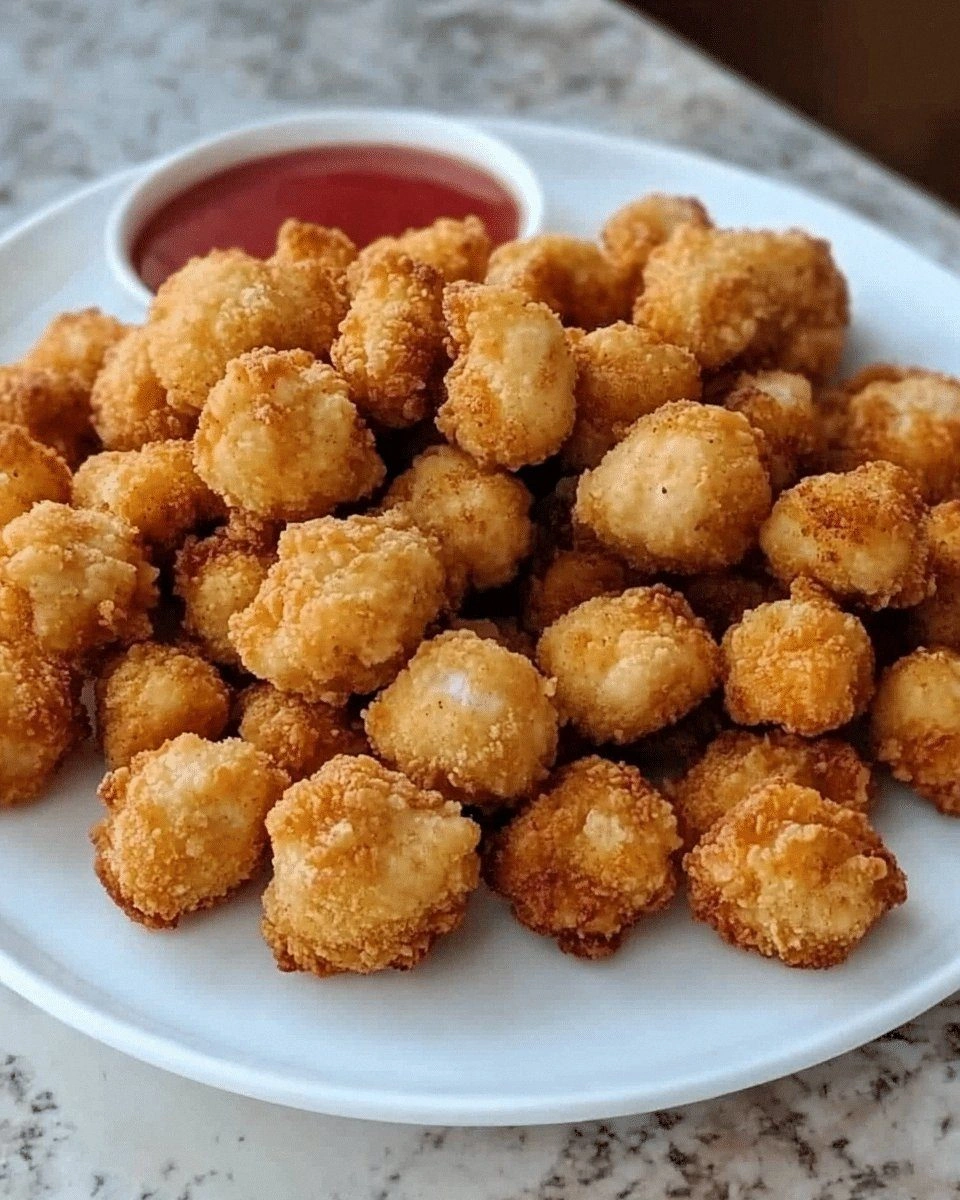
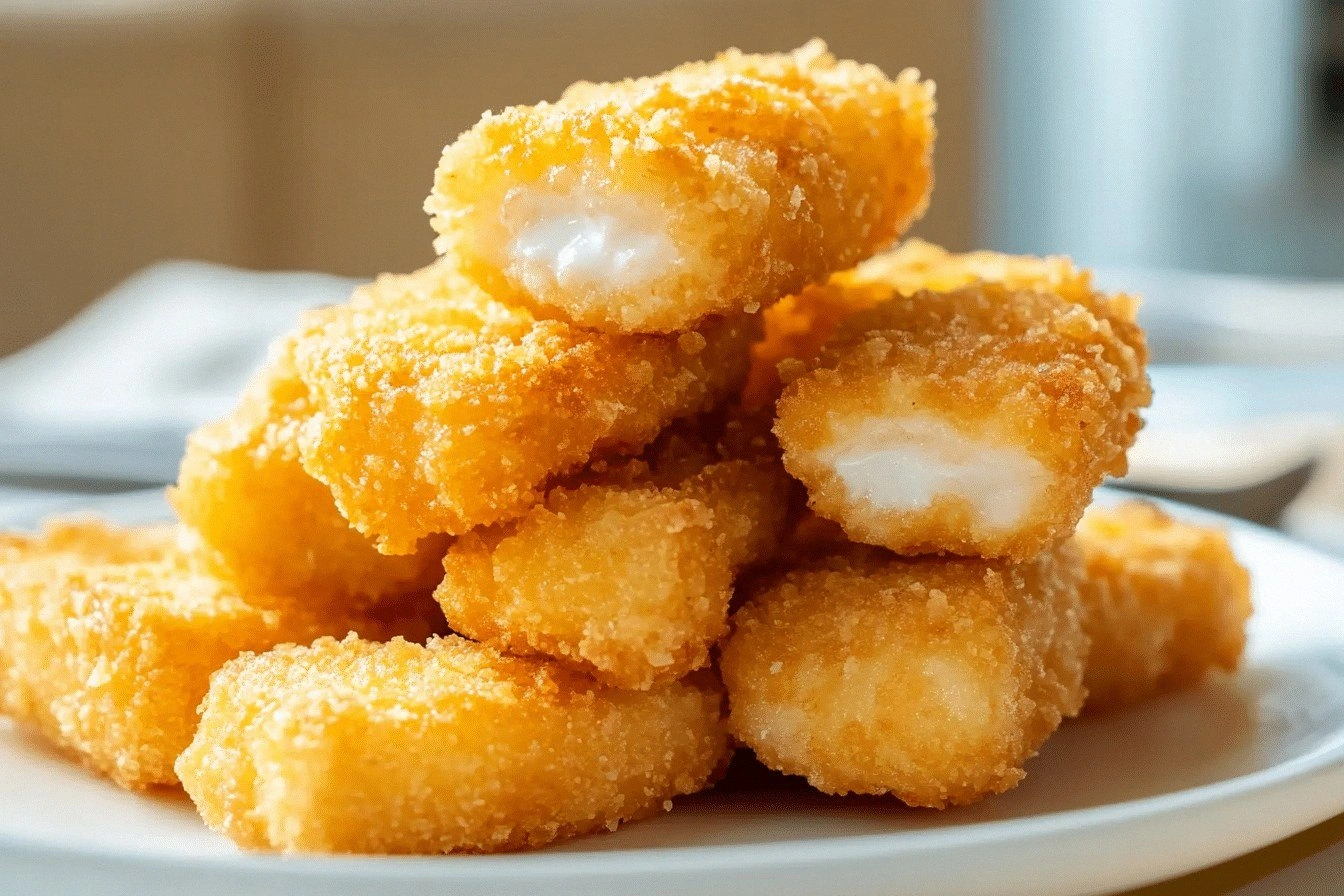
- Carefully slide the breaded batter into the hot oil. Fry in batches—do not overcrowd the pan—to maintain the oil temperature. Each side should take about 2–3 minutes, turning when the edges start to turn golden brown. The sound of a gentle sizzle is the soundtrack of perfection.
- Remove the fried pieces with a slotted spoon and place them on a paper towel rack to drain excess oil. Let them rest for a minute; the interior will continue to set slightly as it cools. If you’re serving immediately, they’re ready to wow your guests.
That's it — you did it. But hold on, I've got a few more tricks that'll take this to another level…
Insider Tricks for Flawless Results
The Temperature Rule Nobody Follows
Many cooks think any hot oil will do, but the secret lies in precision. 350°F is the sweet spot for a crispy exterior while keeping the interior silky. If your thermometer reads higher, lower the heat; if it’s lower, let it heat up a bit. The trick is to maintain a steady temperature throughout the frying session. I once fried a batch at 380°F, and the crust burned before the center cooked. Lesson learned: patience is key.
Why Your Nose Knows Best
When the batter hits the oil, a caramelized aroma will immediately fill the kitchen. That scent is a sign that the sugar is browning just right. If you smell a burnt odor, the oil is too hot. Trust your senses; they’re a reliable guide to achieving that perfect golden crust.
The 5-Minute Rest That Changes Everything
After frying, let the pieces rest on a rack for five minutes. This step allows the heat to redistribute, ensuring the center remains creamy while the exterior stays crisp. Skipping this rest can leave the interior too hot, causing the batter to melt and lose its structure. I once rushed this step and ended up with a soggy mess. Lesson: patience pays off.
Use a Light Oil for a Clean Finish
Vegetable oil has a neutral flavor, but if you want a subtle nutty undertone, peanut oil is a great alternative. Just keep in mind that peanut oil has a lower smoke point, so you’ll need to monitor the heat closely. I’ve found that the nutty aroma complements the vanilla beautifully, adding a layer of complexity.
Keep the Batter Cool
Before breading, let the batter chill in the fridge for at least 30 minutes. A cooler batter holds its shape better and reduces the chance of it dissolving in the oil. If you’re in a hurry, a quick 10‑minute chill in the fridge works too. The cooler the batter, the cleaner the frying.
Serve with a Dusting of Powdered Sugar
Just before serving, lightly dust the fried milk with powdered sugar. This adds a sweet, snowy finish that contrasts beautifully with the savory crunch. The sugar also creates a subtle glaze that catches the light, making the dish visually stunning.
Creative Twists and Variations
This recipe is a playground. Here are some of my favorite ways to switch things up:
Chocolate Drizzle Variation
After frying, drizzle melted dark chocolate over the milk. The bittersweet chocolate pairs with the vanilla, creating a dessert that feels both indulgent and sophisticated. A sprinkle of sea salt on top elevates the flavor profile.
Spiced Cinnamon Twist
Add 1/2 teaspoon of ground cinnamon to the batter before breading. The warm spice gives a cozy, autumnal feel that’s perfect for holiday gatherings. Pair it with a dusting of powdered sugar for extra flair.
Asian-Inspired Sesame Variation
Swap the breadcrumbs for toasted sesame seeds. The nutty crunch offers a different texture and a subtle Asian twist. Finish with a splash of soy sauce on the side for dipping.
Gluten-Free Version
Use almond flour and gluten-free breadcrumbs for the breading. The batter will still hold together, and the almond flavor adds a nutty depth. The end result remains crisp and creamy.
Cheese Infused Variation
Fold in 1/4 cup of grated Parmesan into the batter before frying. The cheese melts into the interior, giving a savory contrast to the sweet exterior. This version is great as an appetizer at parties.
Miniature Bite‑Size Treats
Cut the batter into small squares before breading and frying. These bite‑size pieces are perfect for a finger‑food spread at cocktail parties. Serve with a dipping sauce of honey and yogurt for a sweet‑savory combo.
Storing and Bringing It Back to Life
Fridge Storage
Store fried milk in an airtight container in the refrigerator for up to 3 days. The batter will firm up, so reheat gently to restore the original texture. Avoid stacking them to prevent crushing the delicate crust.
Freezer Friendly
Freeze the fried pieces in a single layer on a parchment‑lined tray for up to 2 months. Once frozen, transfer to a freezer bag. When ready to serve, reheat in the oven at 350°F for 10 minutes. The crust will regain its crispness, and the interior will stay creamy.
Best Reheating Method
To revive a refrigerated batch, preheat your oven to 375°F. Place the fried milk on a wire rack over a baking sheet and bake for 8 minutes. A quick splash of water on the crust before baking can help steam it back to perfection, ensuring a moist interior.