Love this? Pin it for later! 📌
There's something magical about a recipe that delivers restaurant-quality results in under 20 minutes. This crispy honey garlic salmon has become my go-to lifesaver on those chaotic weeknights when the kids are starving, I'm exhausted from work, and takeout is calling my name. But here's the thing – once you master this technique, you'll never look at salmon the same way again.
I stumbled upon this recipe during one of those particularly brutal weeks last winter. You know the kind – where every day feels like Monday, and your meal planning app is giving you the side-eye because you haven't opened it in three weeks. I had a beautiful piece of salmon sitting in the fridge that I'd optimistically bought on Sunday, and by Thursday, I was determined not to let it go to waste.
What happened next was pure kitchen alchemy. The salmon skin crisped up like the most perfect potato chip, while the honey garlic glaze created this sticky, sweet-savory coating that had my usually picky 8-year-old asking for seconds. My husband, who claims he "doesn't like sweet things on fish," was practically licking the plate. Now, three months later, this dish has earned a permanent spot in our weekly rotation, and I've shared it with countless friends who all report the same thing – their families are obsessed too.
Why This Recipe Works
- Lightning-Fast Cooking: From fridge to table in just 15 minutes, making it perfect for those "what's for dinner?" emergencies.
- One-Pan Wonder: Everything cooks in a single skillet, meaning minimal cleanup and maximum flavor development.
- Restaurant-Quality Crispy Skin: The secret technique ensures shatteringly crisp skin every single time.
- Balanced Flavors: Sweet honey, savory soy sauce, and aromatic garlic create the perfect umami-packed glaze.
- Meal Prep Friendly: The glaze can be made up to a week ahead, and the salmon can be prepped in the morning.
- Family-Approved: Even fish skeptics love this recipe – the sweetness appeals to kids while the complexity satisfies adults.
- Nutrient Powerhouse: Packed with omega-3s, protein, and antioxidants while keeping calories reasonable.
- Customizable Heat Level: Adjust the red pepper flakes from zero to spicy depending on your family's preference.
Ingredients You'll Need

Let's talk about each ingredient and why it matters for this recipe. The beauty of this dish lies in its simplicity – every component plays a crucial role in creating that perfect balance of crispy, sticky, sweet, and savory.
Salmon Fillets (4 portions, 6 oz each): I prefer skin-on salmon for this recipe because the skin becomes incredibly crispy and acts as a natural barrier, keeping the fish moist and flavorful. When selecting salmon at the market, look for fillets that are bright and firm, with no fishy smell. The flesh should spring back when pressed, and the skin should have a silvery sheen. Wild-caught salmon offers superior flavor, but farm-raised works beautifully too. Just make sure your fillets are roughly the same thickness (about 1 to 1.5 inches) so they cook evenly.
Honey (3 tablespoons): This is the backbone of our glaze, providing that gorgeous sticky sweetness and helping the sauce caramelize beautifully. I use wildflower honey for its complex flavor, but clover honey works perfectly. Avoid very dark honeys like buckwheat, as they can overpower the delicate fish. Pro tip: if your honey has crystallized, just warm it briefly in the microwave or place the jar in warm water until it liquefies again.
Low-Sodium Soy Sauce (2 tablespoons): The salty, umami-rich counterpoint to our sweet honey. I always recommend low-sodium versions because you can always add more salt, but you can't take it away. Tamari works beautifully for a gluten-free option, and coconut aminos are perfect if you're avoiding soy. The key is that fermented, salty element that balances the sweetness.
Fresh Garlic (3-4 cloves, minced): Fresh is absolutely essential here – no garlic powder can replicate that pungent, aromatic quality. Look for firm, plump cloves with no green sprouts. If you can only find sprouted garlic, remove the bitter green germ before mincing. Mince it finely so it distributes evenly through the glaze.
Rice Vinegar (1 tablespoon): This provides the necessary acid to brighten all the flavors and cut through the richness of the salmon. If you don't have rice vinegar, apple cider vinegar or white wine vinegar work too, but avoid regular white vinegar – it's too harsh. The subtle sweetness of rice vinegar complements the other Asian flavors beautifully.
Sesame Oil (1 teaspoon): A little goes a long way with this aromatic oil. Toasted sesame oil adds incredible depth and that unmistakable nutty aroma that says "restaurant quality." Make sure your sesame oil is fresh – it goes rancid quickly once opened. Store it in the refrigerator for maximum shelf life.
Fresh Ginger (1 teaspoon grated): Optional but highly recommended, ginger adds a bright, zesty note that elevates the entire dish. Fresh ginger should feel firm and heavy for its size. Peel it with the edge of a spoon – it's much easier than using a peeler. Pro tip: freeze your ginger! It grates beautifully when frozen and lasts for months.
Cornstarch (1 tablespoon): The secret weapon for ultra-crispy skin. This light dusting creates a paper-thin coating that turns golden and shatteringly crisp. Make sure your cornstarch is fresh – if it smells musty, it's too old. Arrowroot powder works as a substitute if needed.
Olive Oil (2 tablespoons): For searing. Use a neutral-flavored oil with a high smoke point. Regular olive oil is perfect; save your expensive extra-virgin for salads. Avocado oil works beautifully too, but avoid butter – it burns at the high temperature we need for crispy skin.
How to Make Crispy Honey Garlic Salmon for Quick Weeknight Dinners
Prep Your Salmon for Success
Remove your salmon from the refrigerator 15-20 minutes before cooking – room temperature fish cooks more evenly. Pat each fillet completely dry with paper towels, paying special attention to the skin. Any moisture is the enemy of crispiness! Use a sharp knife to check for any remaining pin bones, removing them with tweezers if necessary. Score the skin by making 3-4 shallow cuts across each fillet (about 1/8 inch deep). This prevents the skin from curling up during cooking and helps it crisp evenly. Season both sides generously with salt and pepper.
Create the Honey Garlic Glaze
In a small bowl, whisk together honey, soy sauce, rice vinegar, sesame oil, and red pepper flakes if using. Grate in the garlic and ginger directly into the bowl – this releases their oils and creates maximum flavor. Set aside 2 tablespoons of this mixture for glazing later. The remaining glaze will be our finishing sauce. This glaze can be made up to a week ahead and stored in the refrigerator – it actually gets better as the flavors meld!
Dust for Maximum Crispiness
Place cornstarch in a shallow dish. Lightly dust only the skin side of each salmon fillet with cornstarch, shaking off any excess. You want the thinnest possible coating – think translucent, not opaque. This creates a microscopic barrier that will fry up incredibly crisp while protecting the delicate skin from overcooking. Don't flour the flesh side – we want that to caramelize naturally.
Heat Your Pan Properly
Place a large, heavy-bottomed skillet (cast iron is ideal) over medium-high heat. Add olive oil and heat until it shimmers – about 2-3 minutes. Test the temperature by dropping a tiny piece of bread or a few cornstarch grains into the oil. They should sizzle immediately without burning. Proper pan temperature is crucial for crispy skin without sticking. If the oil smokes, it's too hot – remove from heat briefly to cool down.
Sear for Crispy Skin
Carefully place salmon fillets skin-side down in the hot pan, pressing gently with a spatula for 10-15 seconds to prevent curling. Cook without moving for 4-5 minutes until the skin is golden and crispy. Resist the urge to peek! The fish will naturally release from the pan when ready. You'll see the color change from translucent pink to opaque about ¾ of the way up the sides – this is your cue that it's nearly time to flip.
Flip and Finish Cooking
Using a thin, flexible spatula, carefully flip each fillet. Immediately brush the crispy skin with some of the reserved glaze. Cook for 2-3 minutes more for medium (my preference) or 4 minutes for well-done. The exact time depends on your fillet thickness – a good rule is 3-4 minutes per side for every inch of thickness. Remember the salmon will continue cooking from residual heat, so it's better to slightly undercook than overcook.
Apply the Final Glaze
In the last minute of cooking, brush the flesh side with more glaze, allowing it to caramelize slightly. Pour the remaining glaze into the pan – it will bubble and thicken immediately. Tilt the pan to coat the salmon in this glossy sauce. The glaze should be sticky and shiny, not watery. If it seems thin, let it bubble for 30 seconds more to reduce and concentrate the flavors.
Rest and Serve
Transfer salmon to plates and let rest for 2 minutes. This allows the juices to redistribute, ensuring every bite is moist and flavorful. Spoon any remaining glaze from the pan over the top. Garnish with sesame seeds and sliced green onions for a restaurant-worthy presentation. Serve immediately – the crispy skin waits for no one!
Expert Tips
Perfect Temperature Control
Start with medium-high heat for crispy skin, then reduce to medium after flipping. If your pan starts smoking, remove from heat briefly. The goal is to hear a gentle sizzle, not an aggressive hiss.
Dry Equals Crispy
Pat your salmon dry multiple times – even a tiny bit of moisture will steam instead of sear. Place skin-side up on a paper towel-lined plate in the fridge for 30 minutes before cooking for ultimate crispiness.
Don't Overcook
Remember salmon continues cooking after removal from heat. The center should still be slightly translucent when you take it off. It will finish cooking as it rests.
Double the Glaze
Make extra glaze and store in the fridge for up to 2 weeks. It's incredible on chicken, vegetables, or as a dipping sauce for dumplings. You'll thank me later!
Quality Matters
Invest in good soy sauce and fresh sesame oil. These pantry staples last forever and make a huge difference. Look for naturally brewed soy sauce – the flavor is infinitely superior.
Tool Essentials
A thin, flexible fish spatula is worth its weight in gold. It slides under delicate fish without tearing. If you don't have one, use the thinnest spatula you own.
Variations to Try
Spicy Sriracha Version
Add 1 tablespoon sriracha to the glaze and increase honey by ½ tablespoon to balance the heat. Garnish with extra sriracha drizzle and cilantro.
Miso Glaze Twist
Substitute 1 tablespoon white miso paste for 1 tablespoon of the soy sauce. Add 1 additional tablespoon honey. The miso adds incredible umami depth.
Citrus Bright Version
Add zest of 1 orange and 1 tablespoon orange juice to the glaze. Replace rice vinegar with fresh lemon juice for a brighter, more citrus-forward profile.
Herb-Infused Option
Add 1 tablespoon fresh thyme leaves and ½ teaspoon fennel seeds to the glaze. Finish with fresh dill instead of green onions for a more herbaceous profile.
Gluten-Free Adaptation
Use tamari instead of soy sauce, and ensure your cornstarch is certified gluten-free. The taste is identical, making this perfect for GF guests.
Keto-Friendly Version
Replace honey with 2 tablespoons allulose or monk fruit sweetener. Reduce rice vinegar to 1 teaspoon and add ½ teaspoon xanthan gum to help the glaze thicken.
Storage Tips
Refrigeration Guidelines
Cooked salmon keeps for up to 3 days in an airtight container in the refrigerator. Let it cool completely before storing to prevent condensation that can make the skin soggy. Store the glaze separately in a small jar – it will keep for up to 2 weeks and becomes a fantastic sauce for everything from vegetables to rice bowls.
Reheating tip: The skin won't stay crispy, so embrace the change! Flake the cold salmon over salads, or reheat gently in the microwave at 50% power for 45-60 seconds. Alternatively, remove the skin and warm the salmon in a skillet with a splash of water, covered, for 2-3 minutes.
Freezing Instructions
While salmon is best fresh, you can freeze cooked portions for up to 2 months. Wrap each fillet tightly in plastic wrap, then aluminum foil, then place in freezer bags. Label with the date and contents. Thaw overnight in the refrigerator and use within 24 hours.
For meal prep, you can also freeze the raw salmon in the marinade for up to 3 months. Place fillets in freezer bags with the glaze, remove as much air as possible, and freeze. Thaw overnight in the fridge, then cook as directed (add 1-2 extra minutes to account for the cold starting temperature).
Make-Ahead Meal Prep
The glaze can be made up to 2 weeks ahead and stored in the refrigerator. Portion your salmon in individual containers with paper towels underneath to absorb excess moisture. Season the salmon in the morning and keep refrigerated until dinner – the salt will season it throughout without making it soggy.
For ultimate weeknight convenience, prep everything on Sunday: make the glaze, portion your salmon, and prep any vegetables you'll serve alongside. On busy weeknights, dinner is literally 10 minutes away!
Frequently Asked Questions
The biggest culprits are moisture and temperature. Your salmon must be patted completely dry, and your pan must be properly hot before adding the fish. Also, don't move the salmon around – let it sear undisturbed. The cornstarch trick helps too! Make sure you're using enough oil and that it's shimmering hot before the salmon hits the pan.
Yes, but you'll miss the crispy skin experience! For skinless salmon, skip the cornstarch and reduce the initial cooking time to 3-4 minutes per side. The glaze works beautifully on skinless fillets too. Just be extra careful not to overcook, as skinless salmon tends to dry out faster.
Honey-based glazes can burn quickly due to their high sugar content. The key is to add the glaze in the last minute of cooking and keep it moving in the pan. If it starts to darken too much, immediately add a splash of water or chicken broth to stop the cooking. Lower the heat and stir constantly until you achieve the desired consistency.
Perfect salmon flakes easily but still looks slightly translucent in the very center. For medium, aim for 125-130°F internal temperature. The fish should feel firm but still spring back when pressed. Remember it continues cooking from residual heat, so remove it just before you think it's done.
Absolutely! Use two pans or cook in batches, keeping the first batch warm in a 200°F oven. Don't overcrowd the pan – this steams instead of sears. The glaze doubles perfectly. For more than 6 servings, I recommend using multiple pans simultaneously to keep cooking times reasonable.
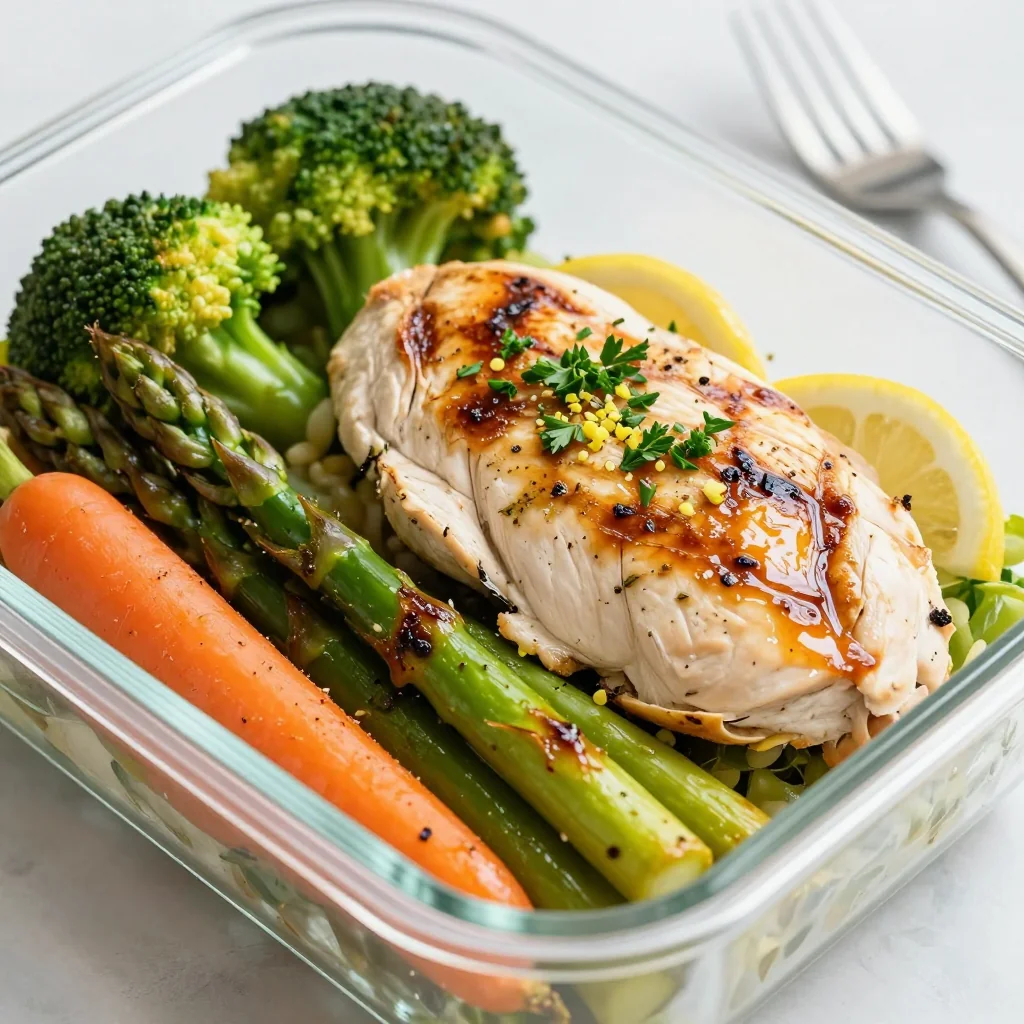
Quick-cooking vegetables that can handle the same Asian flavors work beautifully – think steamed broccoli with sesame oil, garlic sautéed green beans, or a simple cucumber salad with rice vinegar. For starch, jasmine rice or quinoa are perfect for soaking up the extra glaze. Even cauliflower rice works for a low-carb option!

Crispy Honey Garlic Salmon for Quick Weeknight Dinners
Ingredients
Instructions
- Prep the salmon: Pat salmon fillets completely dry with paper towels. Score the skin with 3-4 shallow cuts. Season both sides with salt and pepper.
- Make the glaze: In a small bowl, whisk together honey, soy sauce, rice vinegar, sesame oil, garlic, ginger (if using), and red pepper flakes. Set aside 2 tablespoons.
- Coat the skin: Lightly dust only the skin side of each fillet with cornstarch, shaking off excess.
- Heat the pan: Heat olive oil in a large skillet over medium-high heat until shimmering.
- Sear skin-side down: Place salmon skin-side down, pressing gently for 10 seconds. Cook 4-5 minutes without moving until skin is crispy.
- Flip and glaze: Carefully flip, brush skin with reserved glaze, and cook 2-3 minutes more.
- Finish with sauce: Brush flesh with glaze, pour remaining sauce into pan, and cook 1 minute until sticky.
- Serve: Transfer to plates, rest 2 minutes, garnish with green onions and sesame seeds.
Recipe Notes
For best results, use room temperature salmon and ensure your pan is properly hot before adding the fish. Don't overcrowd the pan – cook in batches if necessary. The glaze can be made up to 2 weeks ahead and stored in the refrigerator.