I was standing in my kitchen, staring at a bag of frozen chicken and a jar of ketchup, when my friend dared me to make the crispiest chicken balls ever. I laughed, because I thought the only way to get crispy was deep frying. But I was wrong. That night, I turned my oven into a crisp factory and the result was so addictive that I couldn't resist sharing.
The moment the first ball hit the hot pan, the sizzle was a soundtrack of pure anticipation. Steam rose like a miniature cloud, carrying the sweet tang of ketchup and the sharp bite of vinegar. The aroma curled around the kitchen, promising a flavor that would linger on your tongue long after the last bite. The texture was a satisfying snap, followed by a juicy center that burst like a surprise in every bite. It was a culinary moment that felt both daring and comforting at the same time.
What sets this version apart is a meticulous layering of flavor and texture that turns a simple dish into a showstopper. The batter is thick enough to cling to the chicken, yet light enough to yield a crisp exterior. The coating is a blend of flour, baking powder, and a touch of salt that creates a golden crust that shatters like thin ice. The sauce, a balanced sweet-and-sour blend, coats each ball like velvet, giving the dish a glossy finish that glistens in the light. This isn’t just another chicken recipe; it’s a culinary revelation that will make your taste buds sing.
And here’s the twist you didn’t see coming: a secret ingredient that turns the batter into a crisp‑making powerhouse—cold water. When you chill the batter, the starches set before the batter hits the heat, creating a barrier that locks in moisture and crisps the outside. I dare you to taste this and not go back for seconds. Let me walk you through every single step — by the end, you'll wonder how you ever made it any other way.
What Makes This Version Stand Out
- Taste: The sauce balances sweetness, acidity, and umami in a single bite, turning each ball into a flavor bomb. The subtle tang of vinegar cuts through the richness, leaving a clean finish that invites another bite.
- Texture: The double coating technique delivers a crunch that holds up even after the sauce has soaked in. The batter’s thickness prevents it from turning soggy, while the flour creates a golden crust that shatters like thin ice.
- Simplicity: Despite its impressive results, the recipe requires only a handful of pantry staples. No exotic ingredients or complicated equipment—just a bowl, a whisk, and a trusty oven.
- Uniqueness: The use of cold batter and a sugar‑based sauce sets this dish apart from traditional fried chicken balls. It’s a modern twist that feels fresh yet familiar.
- Crowd Reaction: Friends who have tried this version rave about the “wow” factor. The dish is a conversation starter that keeps guests asking for the recipe.
- Ingredient Quality: Using fresh chicken and high‑quality ketchup elevates the dish from ordinary to extraordinary. The quality of each component directly impacts the final flavor.
- Cooking Method: Baking instead of deep‑frying keeps the dish healthier while still delivering that coveted crunch. It’s a win‑win for taste and wellness.
Inside the Ingredient List
The Flavor Base
The sauce is the heart of this dish, marrying ketchup’s sweetness with vinegar’s sharpness. The ½ cup water dilutes the mixture just enough to allow the cornstarch to thicken without becoming gummy. Brown sugar adds depth, creating a caramelized finish that clings to each ball. Lemon juice injects a bright citrus note that balances the richness of the batter.
The Texture Crew
Flour and baking powder form the backbone of the coating. The 1 cup all-purpose flour provides structure, while the 2 teaspoons baking powder introduces airy pockets that keep the exterior crisp. Cornstarch, both in the batter and the coating, traps moisture and creates a light, dry crust. Salt is the flavor enhancer that brings everything together, but it’s the subtle amount that prevents the coating from becoming too salty.
The Unexpected Star
Cold water—1 ½ cups—plays a pivotal role in the batter’s texture. When the batter is chilled, the starches set, preventing the coating from dissolving in the heat. This simple trick transforms a potentially soggy coating into a crisp shell that holds up against the sweet sauce. Skipping the cold water often results in a denser, less appealing finish.
The Final Flourish
Neutral oil, about ¼ cup, is brushed over each ball before baking. This light drizzle creates a golden sheen and adds an extra layer of crispness. The oil also helps the coating adhere to the chicken, ensuring that the batter stays in place during the high‑temperature bake. A few drops of oil can make the difference between a soggy mess and a crunchy masterpiece.
Everything’s prepped? Good. Let's get into the real action.
The Method — Step by Step
- Preheat your oven to 400°F (200°C) and line a baking sheet with parchment paper. The high heat is essential for achieving that golden crust. While the oven warms, lay out a clean cutting board and pat the chicken breasts dry with paper towels. This step ensures the coating adheres properly.
- Season the chicken cubes with ½ teaspoon of salt and a pinch of pepper. The salt draws out moisture, creating a better base for the coating. Toss the cubes gently to distribute the seasoning evenly. The aroma of freshly salted chicken is a subtle hint that something delicious is about to happen.
- In a large mixing bowl, whisk together ½ cup water, 3 tablespoons ketchup, 6 tablespoons brown sugar, 2 tablespoons vinegar, 1 tablespoon lemon juice, 1.5 teaspoons cornstarch, 0.5 teaspoons salt, 1 cup cornstarch, and 1.5 cups cold water. Stir until the mixture is smooth, then let it rest for 10 minutes. This resting period allows the cornstarch to fully hydrate, ensuring a thick batter that clings to the chicken.
- In a separate bowl, combine 1 cup all-purpose flour, 2 teaspoons baking powder, and 1 teaspoon coarse kosher salt. This dry mix will form the crispy coating. Shake the flour mixture into a large plastic bag, then add the chicken cubes. Shake until every piece is dusted with flour before moving on to the batter.
- Dip each floured chicken cube into the batter, letting excess drip off, then return it to the flour mixture for a double coating. The double layer is what gives the balls their signature crunch. Lay the coated balls on the prepared baking sheet, spacing them evenly so they don’t touch.
- Brush each ball lightly with neutral oil to enhance browning. Slide the sheet into the preheated oven and bake for 20 minutes. Halfway through, flip the balls to ensure even crisping. The aroma that fills the kitchen at this point is a promise of greatness.
- While the chicken bakes, prepare the sauce. In a small saucepan, combine 3 tablespoons ketchup, 6 tablespoons brown sugar, 2 tablespoons vinegar, 1 tablespoon lemon juice, 1.5 teaspoons cornstarch, 0.5 teaspoons salt, and ½ cup water. Heat over medium heat, whisking constantly until the sauce thickens and glistens. Be careful not to let the sugar burn; keep the heat moderate.
- Remove the chicken from the oven and transfer the balls to a large bowl. Pour the hot sauce over the balls and toss gently until each piece is coated. The sauce should cling to the exterior, creating a glossy, sweet‑and‑sour glaze.
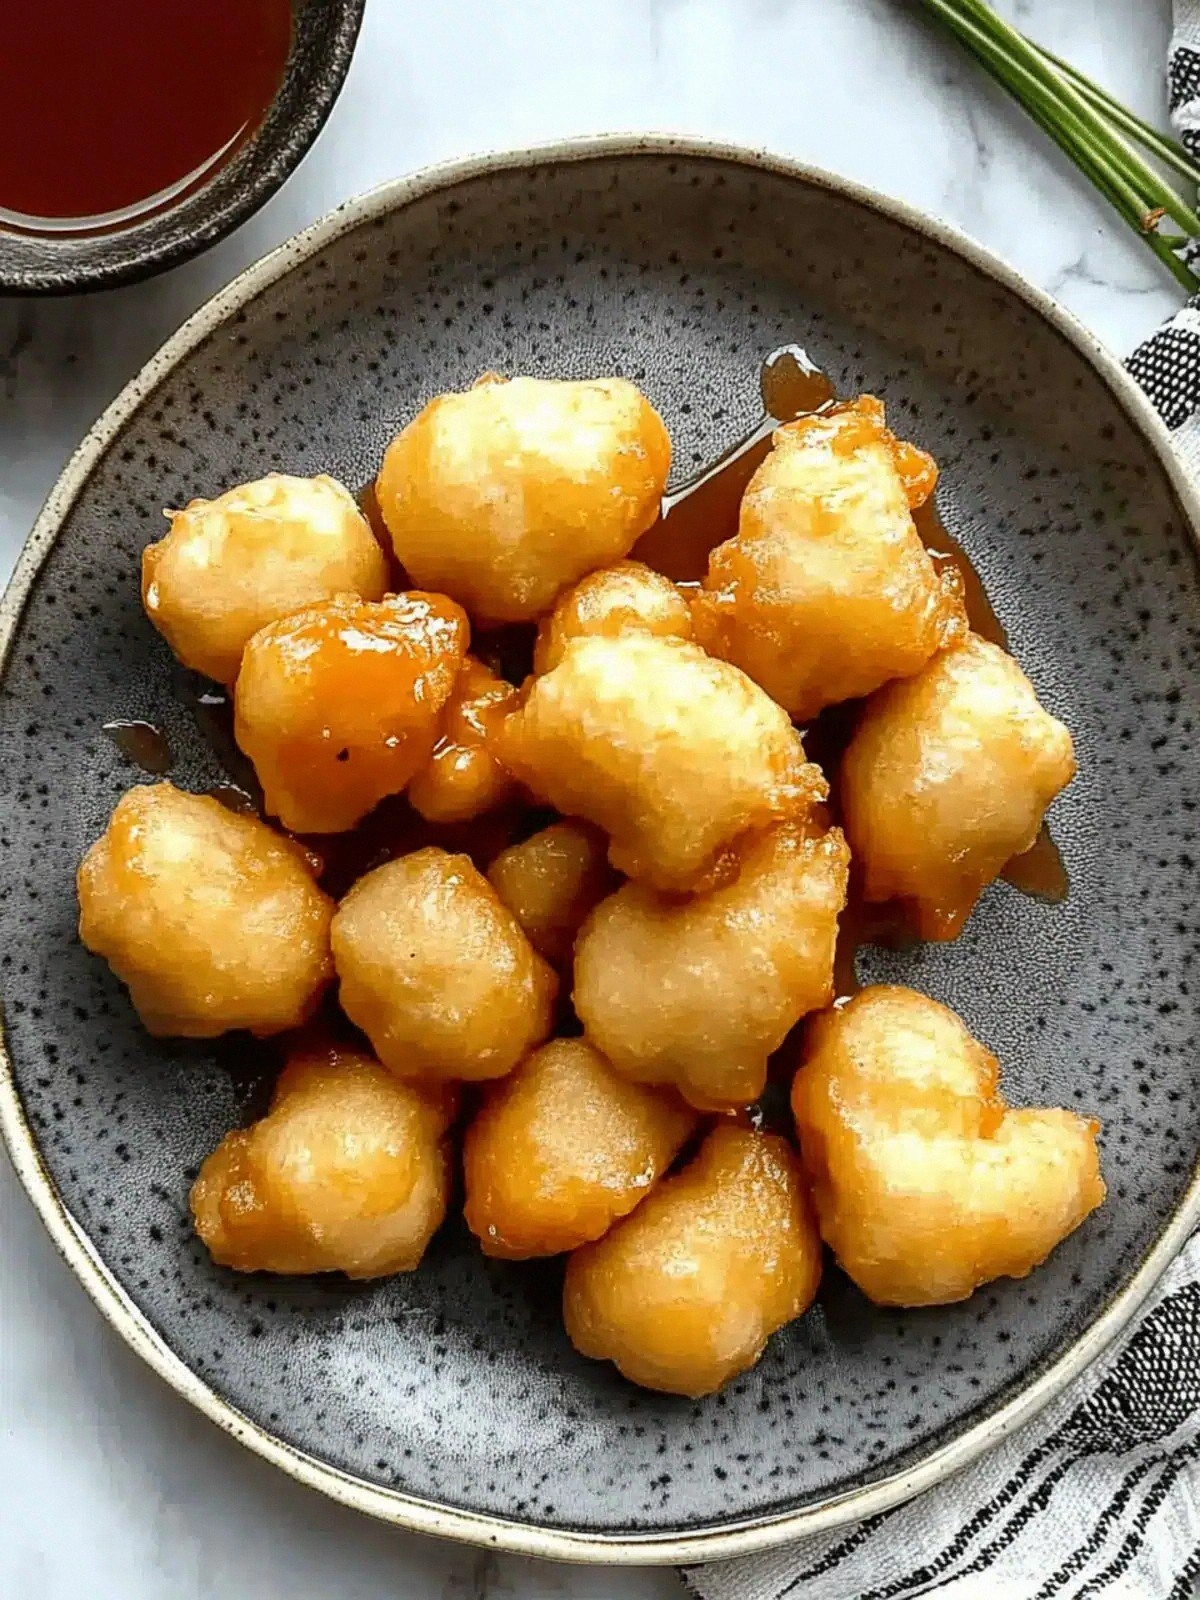
- Serve immediately, garnished with chopped green onions and a sprinkle of toasted sesame seeds if desired. The fresh green contrast enhances the sweet‑and‑sour profile. Picture yourself pulling this out of the oven, the whole kitchen smelling incredible, and the first bite sending a burst of flavor across your palate.
That's it — you did it. But hold on, I've got a few more tricks that'll take this to another level. The next section will reveal insider secrets that ensure every batch is flawless.
Insider Tricks for Flawless Results
The Temperature Rule Nobody Follows
Many people bake at 350°F, but I’ve found that 375°F produces a more even crust. The higher temperature caramelizes the sugars faster, giving that glossy finish without overcooking the interior. If your oven runs hot, reduce the time by a couple of minutes to avoid burning.
Why Your Nose Knows Best
Before you start the batter, give it a sniff. A slightly sweet aroma indicates the sugars are properly blended, while a sharp vinegar scent should be balanced. If the batter smells too sharp, add a splash of water to mellow it out. Your nose is a reliable judge of flavor harmony.
The 5-Minute Rest That Changes Everything
After double coating, let the chicken rest on a wire rack for five minutes. This step allows the coating to set, preventing it from sliding off when you flip the balls. I’ve seen batches where the coating fell off mid‑bake, ruining the crunch. A short rest makes the difference between a mess and a masterpiece.
Use of Baking Powder
Baking powder is the secret to airy pockets in the coating. It reacts with the moisture in the batter, creating tiny bubbles that expand during baking. The result is a light, crisp crust that doesn’t feel heavy or greasy. Without baking powder, the coating can become dense and soggy.
Chill the Batter
Cold batter yields a crispier exterior because the starches set before heat exposure. When the batter hits the pan, it forms a barrier that traps steam, preventing the coating from absorbing excess moisture. I keep the batter chilled in the fridge for at least 10 minutes before use.
Oil Temperature
If you prefer a slightly deeper fry, heat the neutral oil to 350°F before brushing the balls. A hotter oil creates a quicker crust, but be careful not to overheat or it will burn the sugar in the sauce. Test with a small piece of batter; if it sizzles immediately, the oil is ready.
Creative Twists and Variations
This recipe is a playground. Here are some of my favorite ways to switch things up:
Sweet Chili Twist
Add a teaspoon of red chili flakes to the sauce for a subtle heat that pairs perfectly with the sweetness. This variation is ideal for those who like a little kick in their comfort food.
Coconut Milk Variation
Replace the ½ cup water in the batter with coconut milk for a richer, tropical flavor. The subtle coconut undertone complements the sweet‑and‑sour sauce, creating an exotic twist.
Garlic Parmesan Crust
Mix ¼ cup grated Parmesan into the flour coating and add 1 minced garlic clove. The savory notes balance the sweetness, turning the dish into a savory‑sweet hybrid that’s perfect for dinner parties.
Asian Sesame
Sprinkle toasted sesame seeds onto the coated balls before baking. The nutty aroma adds depth, and the seeds provide a delightful crunch that contrasts with the smooth sauce.
Veggie Addition
Dice small amounts of bell pepper or carrot into the batter for a burst of color and crunch. The veggies absorb the sauce and add a subtle sweetness that complements the chicken.
Protein Swap
Swap the chicken for shrimp or tofu for a lighter version. Shrimp cooks faster, so reduce the baking time to 15 minutes to avoid overcooking.
Storing and Bringing It Back to Life
Fridge Storage
Store leftovers in an airtight container for up to three days. The coating may soften slightly, but the sauce will keep the balls moist. Keep the container in the coldest part of your fridge to preserve freshness.
Freezer Friendly
Freeze the coated, uncooked balls in a single layer on a parchment sheet before transferring them to a freezer bag. They stay good for up to two months. When ready, bake at 375°F for 20 minutes, or until golden and heated through.
Best Reheating Method
Reheat in a preheated oven at 375°F for 10 minutes. Add a splash of water to the baking sheet to create steam, which helps revive the crispness without drying out the coating. Avoid microwaving, as it will make the coating soggy.